
AirPods connectivity on iPhone, like most wireless connections, can be problematic due to software and hardware flaws. This connectivity issue can be annoying especially when you’re trying to relax after a stressful day with cool music.
In this article, we’ll explain why your AirPods won’t connect to iPhone as well as the true solutions you can adopt to resolve the issue.
The following are some possible causes for your AirPods not connecting to your iPhone:
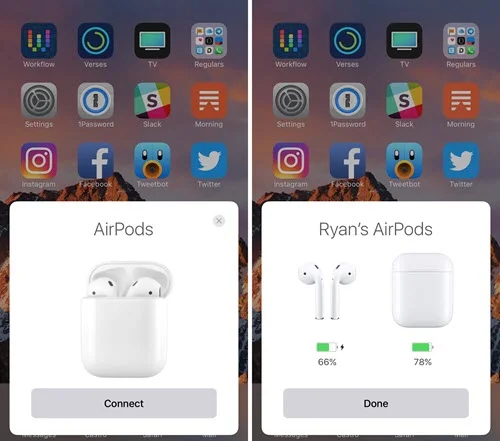
Before you can use your AirPods, you must first connect your iPhone to them. As soon as you open the Charging Case, AirPods will automatically connect to your iPhone.
To set up your AirPods, follow these steps:
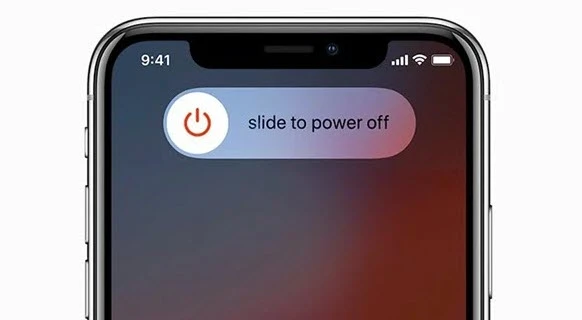
When you turn off your iPhone, the operating system terminates all of the background processes that keep it working. When your iPhone reboot, all of those background processes start over, and this can sometimes help to fix minor software issues like AirPods won’t connect.
Follow these procedures to restart your iPhone:
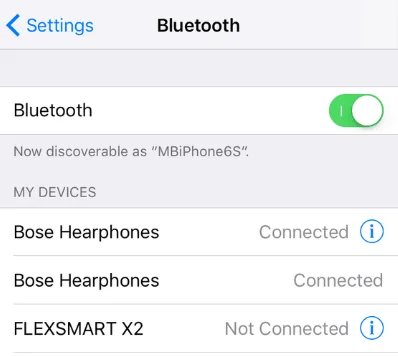
Occasionally, simply turning Bluetooth off and on will resolve minor connectivity issues between your iPhone and Bluetooth devices like AirPods.
Bluetooth can be turned off and on in three different ways:
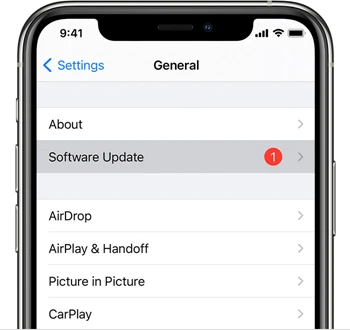
Most software glitches affecting the AirPods connection can be repaired by updating iOS version. Apple regularly release the basic iOS update to resolve bugs that sometimes arise. You can update your iPhone system version by following the steps below:
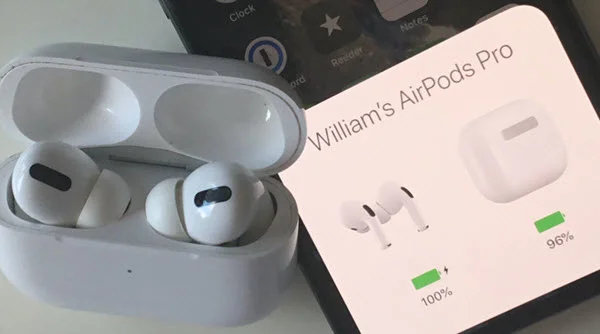
After connecting the AirPods to iPhone, we should check whether the battery life of AirPods is enough to work. If the AirPods won’t pair to iPhone, fully charging it before pairing.
Put the AirPods to the charging case and the battery life of AirPods will be displayed on iPhone. After fully charging, the status indicator will become green.
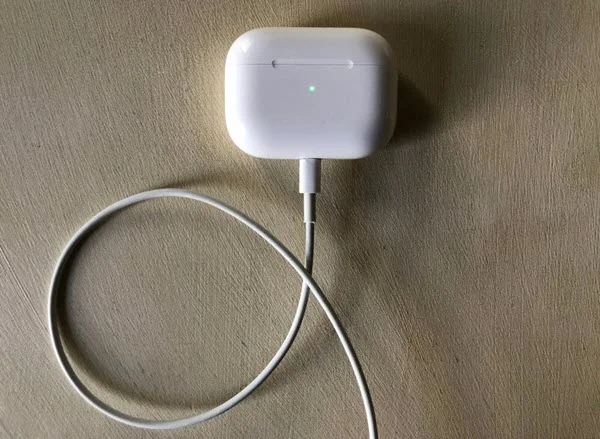
The Charging Case must be charged in order to charge your AirPods. Connect a Lightning cable to the lightning connector on the Charging Case. Then connect the Lightning cable's opposite end to a USB port or a power charger. It may take a few hours for your Charging Case to fully charge.
AirPods may collect dirt and other particles over time, and if nothing is done, it can interfere with their performance and cause hardware issues.
You can get a lint-free and soft cloth to wipe your AirPods and Charging Case gently. Or you can clear up more compact debris with an anti-static brush or a new toothbrush.
AirPods pairs with iPhone via Bluetooth. That’s to say, the AirPods will not connect to iPhone if the 2 devices are not put together. Check to see whether your AirPods are within the range:
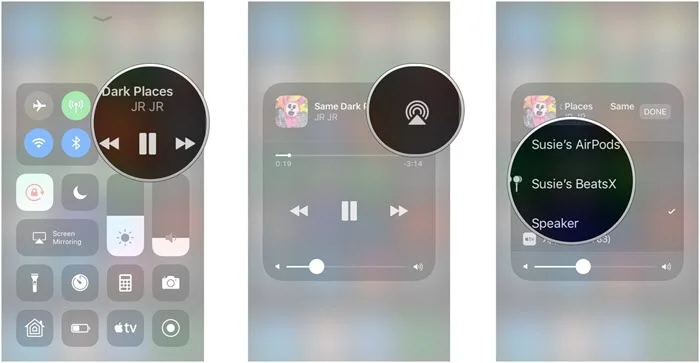
AirPods can be used for 2 iOS devices at the same time. If AirPods are paired with another device, they will get sounds from that device. So we need to ensure the AirPods being paired with the correct device.
Deep software issues, particularly those involving network settings, might be difficult to locate. Rather than trying to figure out what's wrong, you can reset your iPhone's network settings and start over.
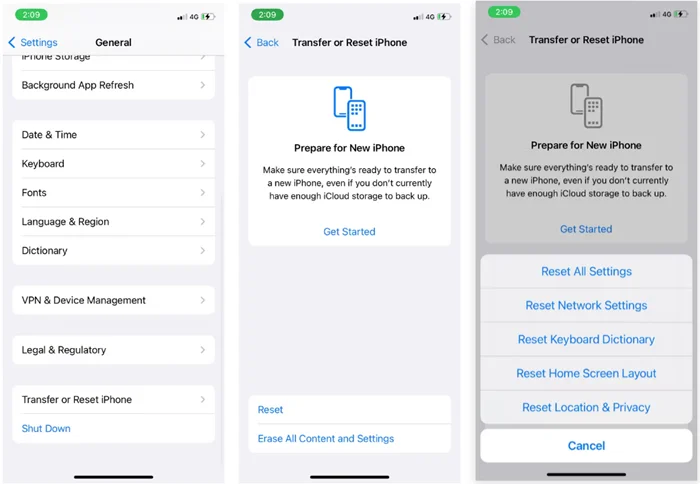
This is not the same as resetting your network settings. You're resetting the app, as well as everything else, to its default settings. This solves a slew of issues caused by a software flaw that would be impossible to trace down any other way.
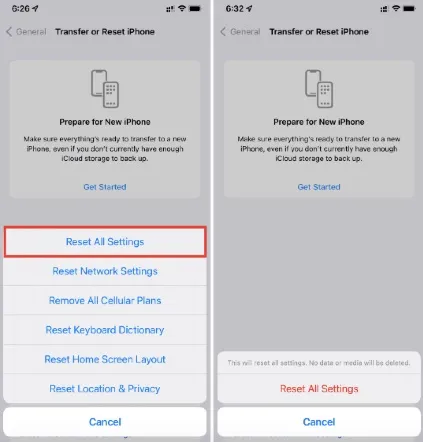
A progress bar will appear on the screen. Allow a few minutes for the process to complete. When the rest is complete, the phone will immediately restart, and you will be able to pair the iPhone with your Airpods.
If all of the steps above fail, a DFU Restore is the last resort that should resolve any software issues. A DFU restore has the ability to solve software issues by wiping all of the code that may be causing the issue.
When you restore your iPhone, it erases everything on it. Before doing a DFU restore, make a backup of your iPhone if possible. Once the restore is finished, you can restore all of your previously backed-up data on your iPhone.
Follow the procedures below to complete a DFU restore on iPhone 8 or newer:
Step 1: Connect your iPhone to your PC through a USB cable and open iTunes or Finder.
Step 2: Quickly press and release the volume up button. Then quickly press and release the volume down button. Hold the side button down until the screen becomes dark.
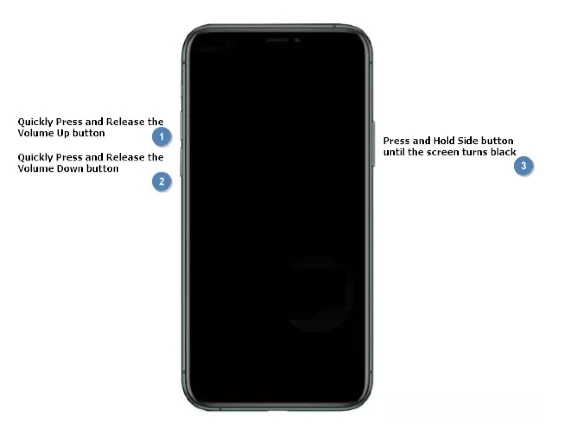
Step 3: Press and hold the volume down button alongside the side button for about 5 seconds when the screen goes dark.
Step 4: Release the side button while continuing to press the volume down button. Hold down the volume down button until Finder or iTunes identifies your iPhone.
Step 5: Use iTunes or Finder to restore your iPhone.
FoneGeek iOS System Recovery, unlike the DFU restore method, allows you to repair iOS issues on your iPhone/iPad without losing any data. The software targets a variety of iOS related problems, including iPhone stuck on Apple logo, black screen, boot loop, Bluetooth not working, AirPods won’t connect, etc


Here are the steps to fix AirPods won't connect to iPhone:
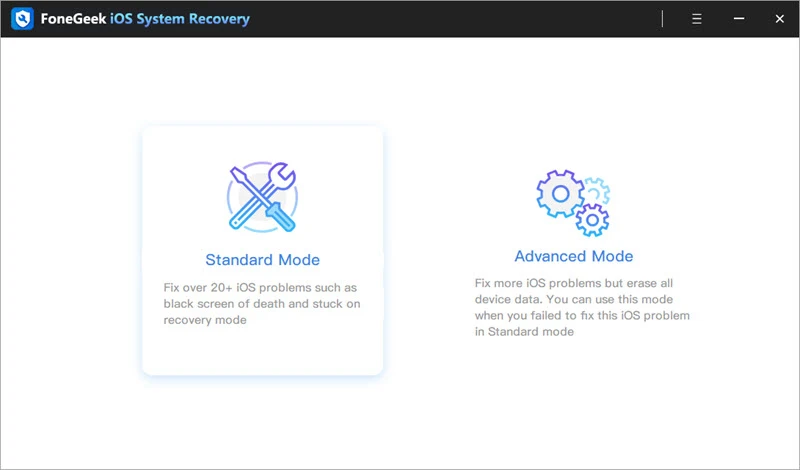
Step 1: Install and launch FoneGeek iOS System Recovery on your computer. Connect your iPhone to the PC via USB cable and select "Standard Mode."
Step 2: Select the firmware version that corresponds to your device, then click "Download."
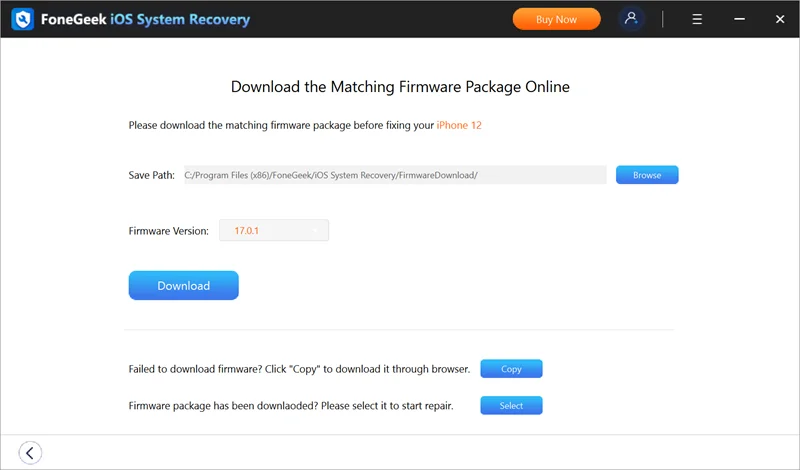
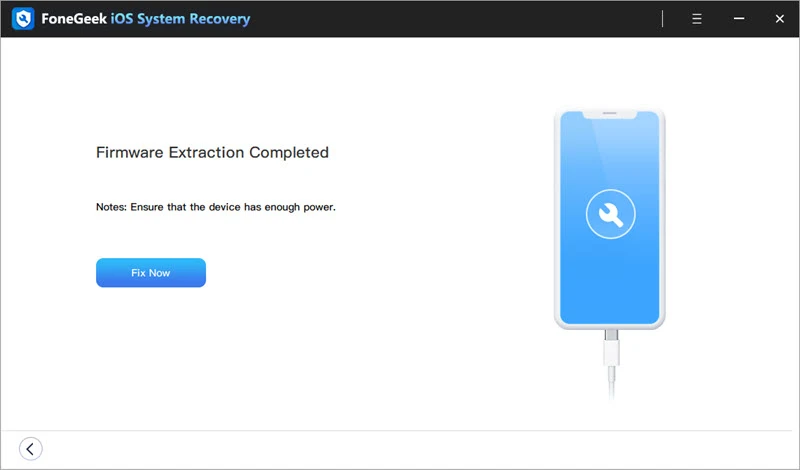
Step 3: To begin system recovery, click "Fix Now" once the firmware package has been downloaded.
If your AirPods still won't connect, it's possible you're dealing with a hardware issue. This could be the result of a fall or the AirPods accidentally coming into contact with water. AirPods that have been damaged will need to be replaced. To do so, contact your local Apple Store to get your items checked out and for advice on what to do next.
It's most likely the macOS compatibility problem causing AirPods connection issue. To connect AirPods (first generation) with Mac, ensure that the Mac runs macOS Sierra or later.
Of course we can use Siri with AirPods. Besides that, we can also access Siri quickly without saying ‘Hey Siri’ by setting up a shortcut.
You now have a clear understanding of how to maintain your AirPods connected to your iPhone. So, you can use your AirPods freely now without worries! Do not hesitate to try out the troubleshooting strategies above-mentioned whenever connectivity issues surface!
As a professional writer who is interested in technology, Edwin J. Parke has helped thousands of users by offering various tips to solve their problems.
Your email address will not be published. Required fields are marked *


Copyright © 2025 FoneGeek Software Co., Ltd. All Rights Reserved


 English