
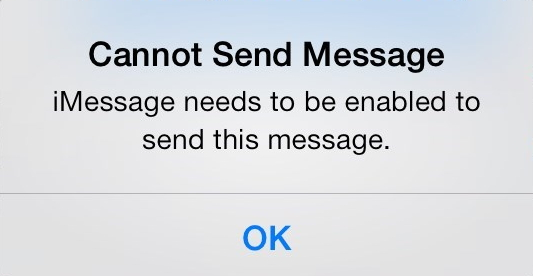
You might see a popup saying “Cannot Send Message. iMessage needs to be enabled to send this message.” when trying to send a message from your iPhone - and yes, it can be really frustrating.
So, what does this message actually mean? It usually indicates that the iMessage feature is either turned off or not working properly on your device. In this article, we will discuss the most common reasons behind iMessage needs to be enabled popup and what you can do to fix it. Keep reading!
When you encounter the error message "iMessage needs to be enabled," it means that iMessage is either not turned on or hasn’t been set up correctly on your device. However, the problem isn’t always just about the iMessage toggle itself. Here are four common reasons why this error might appear:
To fix this error message, we’ll walk you through steps to check your settings, internet connection, and app functionality. Follow along to get iMessage working properly again.
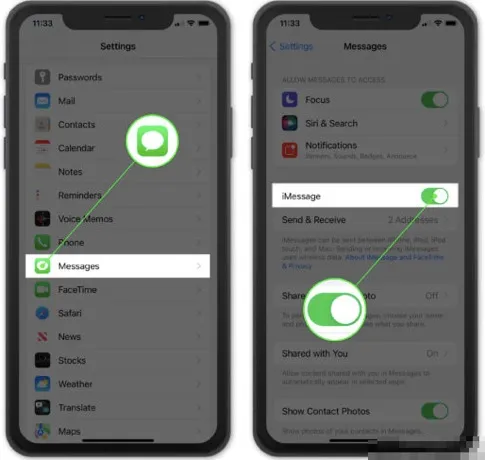
The first thing you should do is to make sure that iMessage is enabled on your iPhone. You can refer to the steps below to enable iMessage from Settings.
iMessage requires a stable internet connection to work efficiently. Make sure that you are connected to a WiFi or cellular data while sending the message. If your network connection is weak, consider switching to a stronger one or resetting network settings.
This process resets all network settings on your iPhone, including saved Wi-Fi networks, passwords, cellular settings, etc. It gives your device a clean slate for network connections, which can help fix iMessage issues caused by network glitches. Here's how to do it:
Enabling and disabling the Airplane mode on your iPhone might also help to solve the issue. When you do this, all the network connections turn off and start again freshly, which can solve minor network-related problems.

If the "iMessage needs to be enabled" alert appears, force quitting the Messages app might help. This quick action can clear temporary glitches or software hiccups that may be affecting how the app works, giving it a fresh start and potentially fixing the issue.
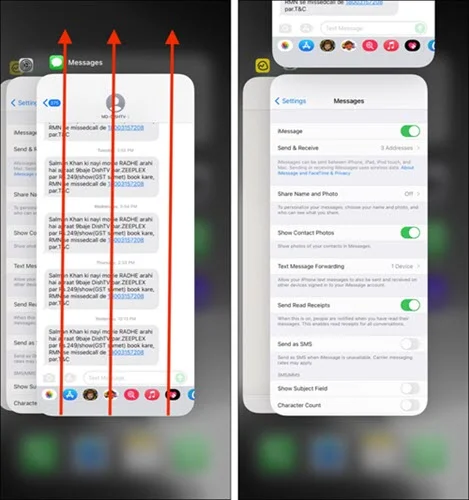
After 15 seconds, open the Messages app and try to send the message.
Sometimes, the error happens because of a small software glitch. Besides restarting the Messages app, restarting your iPhone can also help fix minor bugs and refresh the system.
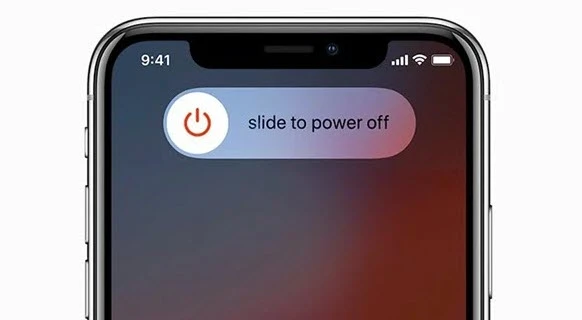
Slide to turn off your iPhone. Wait a few seconds, then hold the Side/Top button again to turn it back on.
The iMessage server can be down on rare occasions and prevent you from sending messages. Open Apple Status Page and find iMessages. If the server is okay, you will find a green dot beside it. If it is not green, then the server is down, and you have nothing to do but wait.

If you see the “iMessage needs to be enabled to send this message” error, try deleting the conversation thread and starting a new one. This trick has worked for some users - once they start a new chat, they’re able to send messages again. Give it a try!
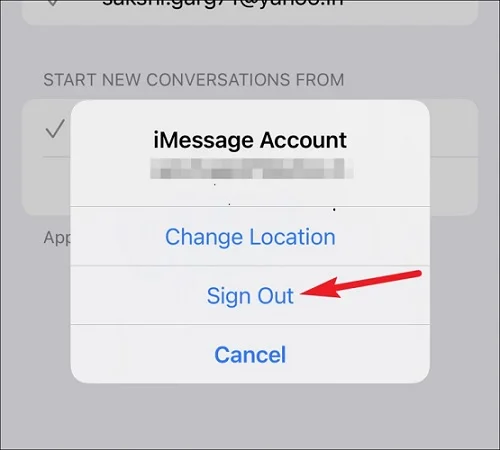
Signing out and then signing in iMessage again helped some users to solve the problem. You can also consider trying it. Here is what to do:
When the iPhone turns on again, sign in to the account. You will find a popup “use the Apple ID for iMessage?”. Just press Sign in and enter the login credentials.
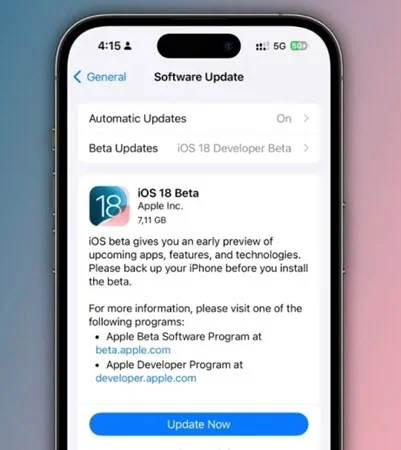
To ensure your iPhone runs smoothly, it's essential to keep your operating system up to date. Updating iOS not only fixes bugs but also enhances performance, which can resolve issues like messages not being delivered.
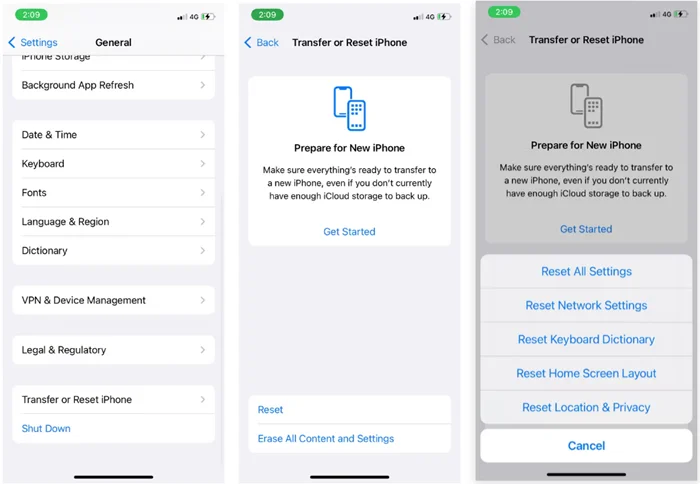
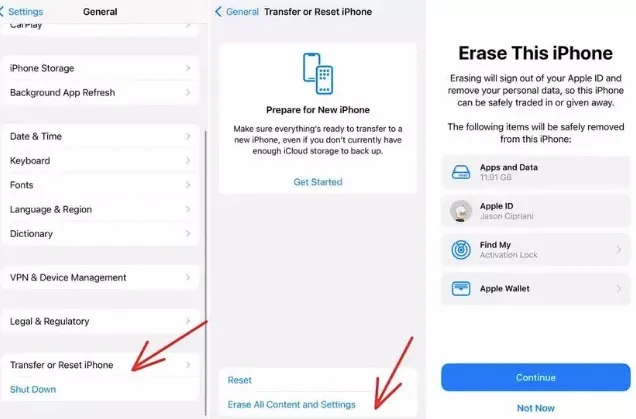
If you are still unable to fix the issue, then your last resort will be factory resetting your iPhone. Note that it will erase all data, including media files, contacts, apps, etc. We strongly recommend you back up your iPhone before doing this. After backing up, follow these steps:
If the methods above don’t work, your iPhone might have a software problem. You can fix this using a third-party tool like FoneGeek iOS System Recovery. This reliable tool can repair software bugs that affect iMessage without causing any data loss. It’s a quick and easy way to solve the error. Follow these four steps to use it:


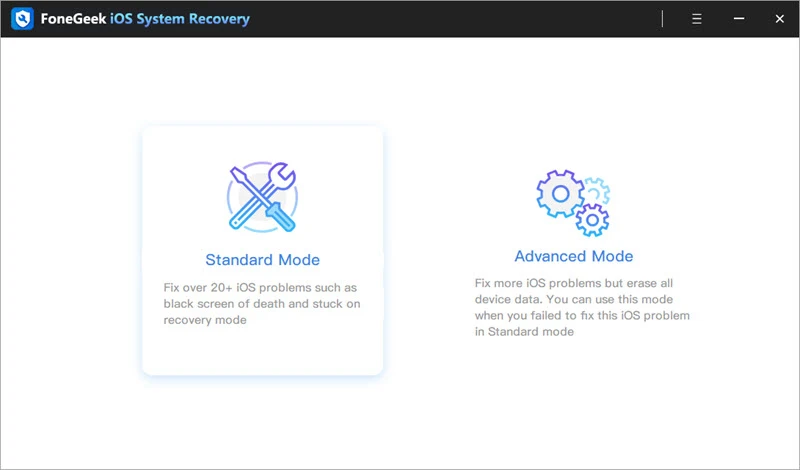
Step 1. Install and run the FoneGeek iOS System Recovery on your PC. Select Standard Mode and connect your iPhone to the computer via a USB cable.
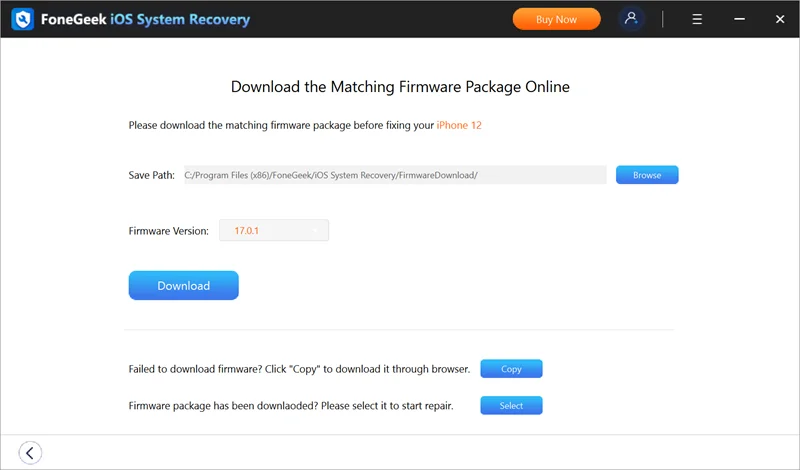
Step 2. Once the program detects your iPhone, it will show your device details on the screen. Just click Download to get the right firmware for your iPhone.
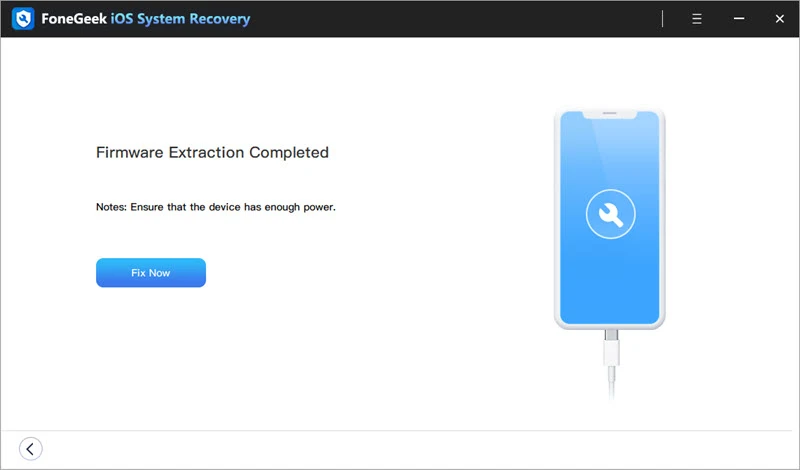
Step 3. Once the download is complete, press Fix Now to start fixing the iOS device. If you have done everything correctly, the problem should be fixed now.
We hope that you have fixed the ‘‘iMessage needs to be enabled to send this message’’ after trying the mentioned solutions. Make sure to try the FoneGeek iOS System Recovery if you cannot solve it following the other fixes. It is a safe and efficient way to solve any system error, including the iMessage error.
Fay J. Melton has explored the area of technology and software for more than 5 years and he is enthusiastic about helping users solve various technology issues.
Your email address will not be published. Required fields are marked *


Copyright © 2025 FoneGeek Software Co., Ltd. All Rights Reserved


 English