
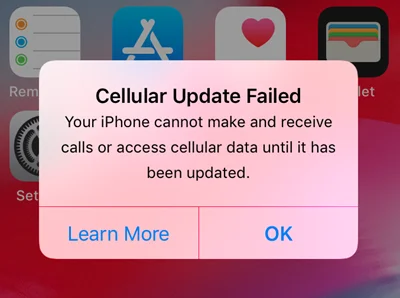
When you receive the failed cellular update notification on your iPhone, you will not make and receive phone calls anymore, nor can you use the internet.
If you are not sure what this issue means, this article will explore some of the possible causes behind the iPhone cellular update failed error and what you can do to fix it. Keep reading!
The cellular update always fail due to the reasons below:
Here are some of the fixes you can try to solve the iPhone cellular update failed error.
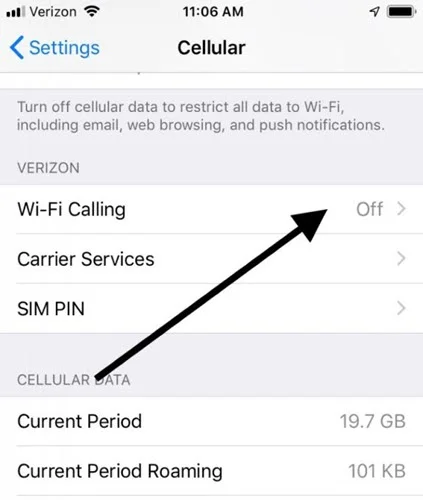
As per some users, turning off the Wi-Fi calling and Voice LTE helped them fix the error. This can be a temporary solution to get rid of the issue while working on the permanent fixes. But some carriers may not support the two features, so this method doesn’t work for all users.
Here is how to turn off the WiFi and LTE:
This may sound ridiculous, but restarting your iPhone may help solve the cellular update failed error. Restarting the device will stop all the running processes and resume them. It can eradicate minor network glitches.
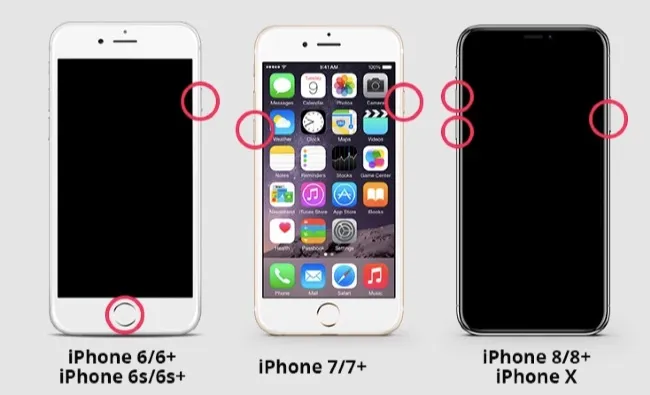
Wait a while after the iPhone shuts down, and then press and hold the power button or side button to restart it.
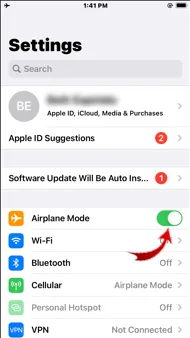
If Airplane Mode is enabled, your iPhone will not connect to the cellular network. Sometimes turning the Airplane Mode on and off also helps to fix minor cellular connectivity issues.
Go to Settings of your iPhone and press the switch next to Airplane Mode. After a while, press the button again to disable Airplane Mode.
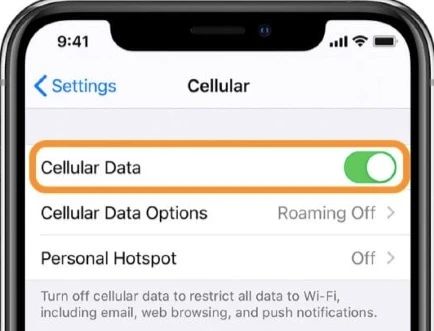
Another way to quickly fix the minor cellular update failed issue is by turning the cellular data on and off.
Go to Settings > Cellular. Press the switch next to Cellular Data to turn it off. Press it again to turn on the cellular data.
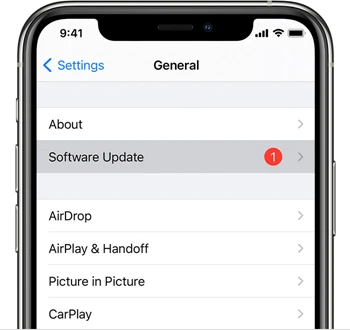
Apple often releases new iOS version to solve known errors and bugs. So, updating the iOS version of your iPhone might help to solve the cellular update error.
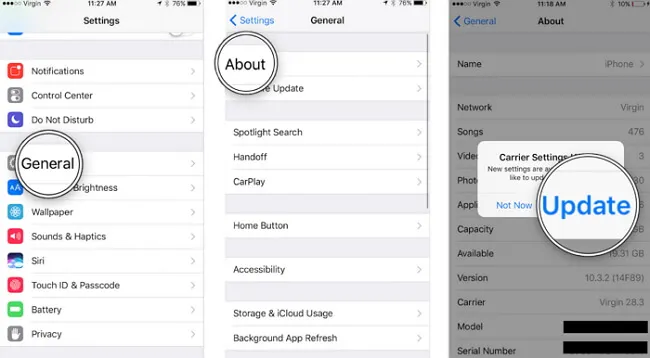
Also, you can check for the carrier settings update, which Apple or the cellular service provider can bring out to improve the network.
Go to Settings > General > About. If the update is available, a popup will appear. Tap Update under the popup to proceed.
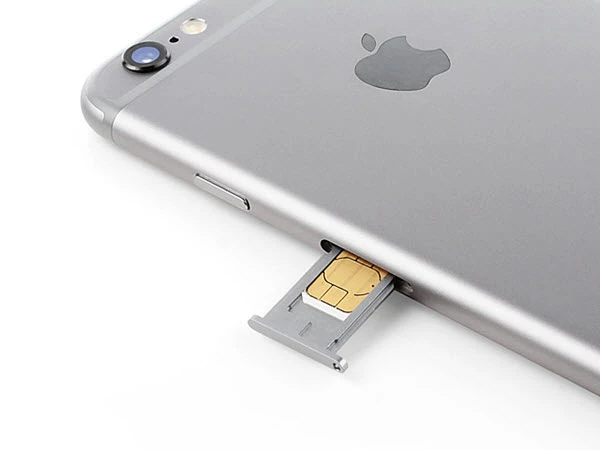
Another small fix you can try is removing and reinstalling the SIM card. Sometimes the SIM card might be misplaced, which will lead to the Cellular Update Failed error.
To remove the SIM card, use a sim ejector tool and poke at the hole in the sim tray. The tray will pop open. Now remove the sim card and put it back. Make sure to align the SIM correctly before re-inserting the tray.
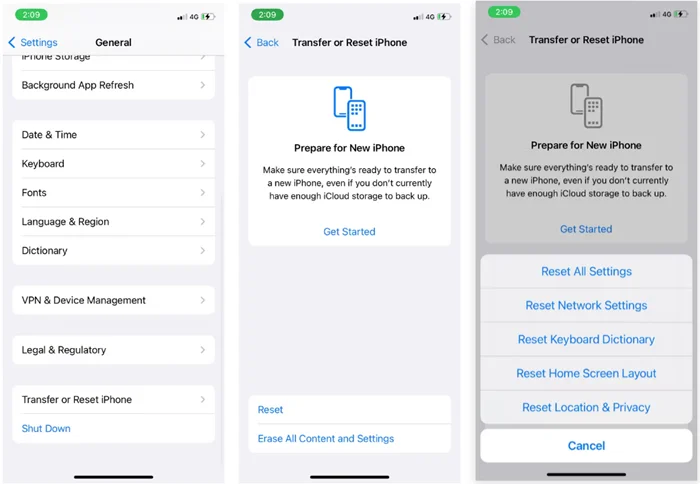
Resetting the network settings will erase the cellular, WiFi, Bluetooth settings on your iPhone, which may help if a problematic network setting is causing the issue.
Go to Settings > General > Transfer or Reset iPhone > Reset. Under the Reset tab, find Reset Network Settings and then press Reset to proceed.
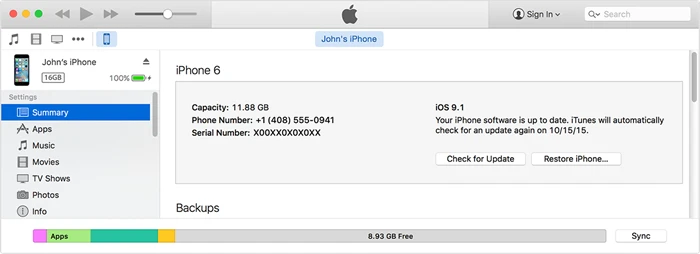
Sometimes issues like Cellular Update Failed will occur due to some major system errors. In such situations, the only thing you can do is restore the iPhone to default. Although there are several ways to do this, the iTunes method is the most standard and safe. However, it comes with a drawback: you will lose all the data stored on the device. So, make sure to back up the iPhone before proceeding.
Here is how to restore iPhone using iTunes:
There is another way to fix the cellular update failed error. You can use the FoneGeek iOS System Recovery tool. It is a powerful program with sophisticated technology that can fix more than 200 iOS system errors. And it can do so without eradicating the data on your iPhone. In addition, it is easy to use and works efficiently on most iPhone devices, including the latest iPhone 15/14.


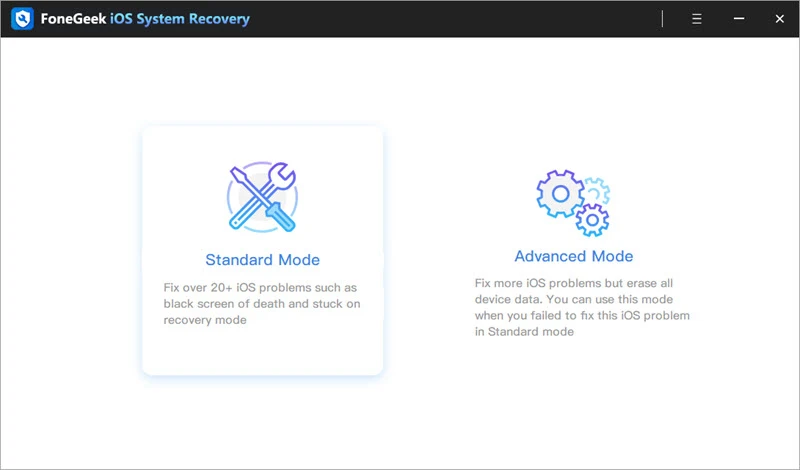
Here is how to use FoneGeek iOS System Recovery tool to fix the issue:
Step 1: Download and install the FoneGeek app from their official website. Once completed, launch it and press “Standard Mode” on the home screen.
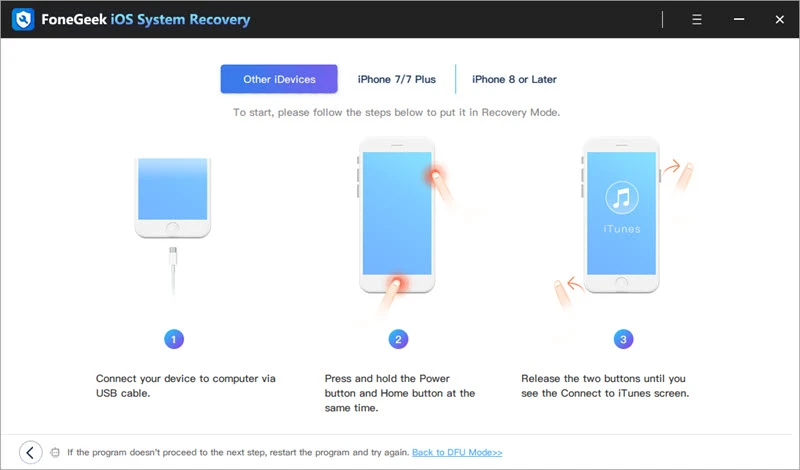
Step 2: Now connect the iPhone to the PC using a USB cable. If the iPhone is running on iOS 12 or later, press "Next" on the screen after unlocking it.
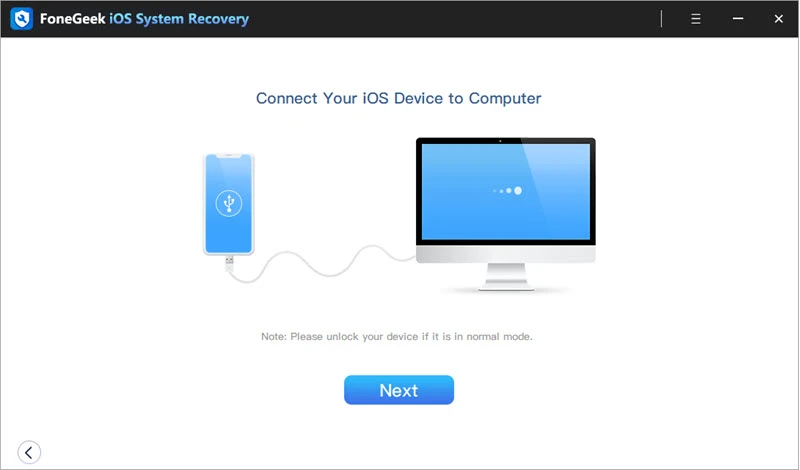
If the device is not detected, you will need to boot it into DFU or recovery mode. You can do this following the on-screen guide on the Fonegeek app.
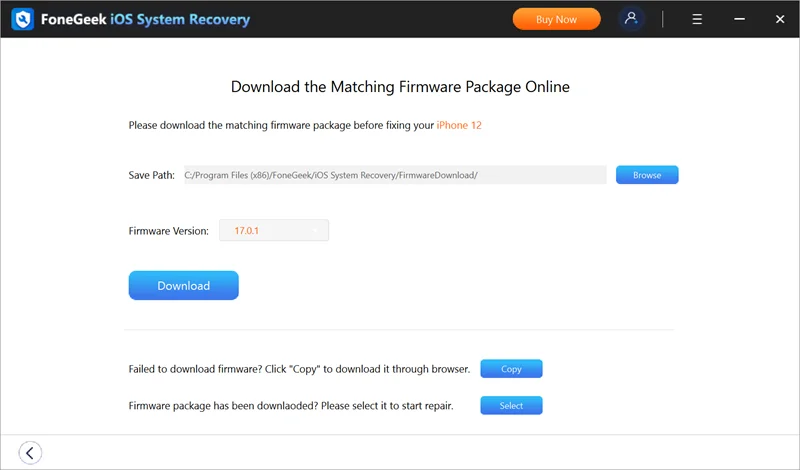
Step 3: Now, you will see the iPhone model and available firmware versions. Select the preferred version and then click "Download."
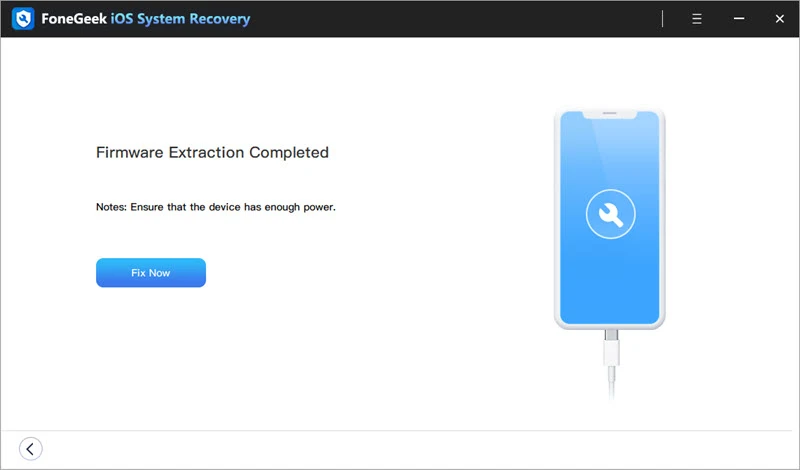
Step 4: The firmware package will be downloaded and verified by the Fonegeek app within a while. After that, press "Fix Now." The program will start fixing the issue, and your device should get back to its normal state within a while.
If the issue still persists, you should better contact Apple support or the wireless service provider. They will help you detect what is causing the cellular update failed error and suggest solutions. In addition, you may get the iPhone fixed for free if it is under warranty coverage.
We hope the above-discussed solutions will help you effectively fix the iPhone cellular update failed error. All these solutions work to some extent, but you will have a higher chance of resolving the issue with FoneGeek iOS System Recovery if a system error is causing it. So, make sure that you are trying this. Best of luck!
Fay J. Melton has explored the area of technology and software for more than 5 years and he is enthusiastic about helping users solve various technology issues.
Your email address will not be published. Required fields are marked *


Copyright © 2025 FoneGeek Software Co., Ltd. All Rights Reserved


 English