
Having an unexpected issue such as iPhone error 2009 while updating the iOS version is infuriating. This will prevent users from updating or doing anything with the device until rectified.
Reasons like unethical downloads, unfinished installation of iTunes, or a malware attack give rise to such an error. Even though iOS is the most reliable OS, an array of error codes in iOS have been troubling the users for a while.
Don’t worry if the iPhone error 2009 confuses you, we got you covered. This article provides practical solutions to fix this error.
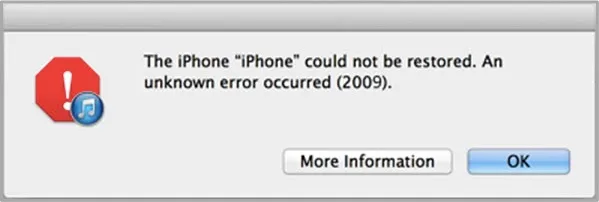
iPhone error 2009, commonly known as iTunes error 2009, is an error code that excites during firmware or system update via iTunes. It is mainly inflicted due to third-party hardware like a USB connection, display, etc.
With promising technical guidance, this error can be solved effortlessly.
This section throws a light on a list of practical solutions to resolve iPhone errors 2009:
Ensuring that your computer’s USB ports function efficiently is essential to avoid this iPhone error 2009. And to do so, test the USB connection by associating different Apple USB cables with the computer’s USB port.
It’s very easy to overlook the small problem. So it’s necessary to check whether the USB port is working as normal. And to do so, test the USB connection by associating different USB cables with the computer’s USB port.

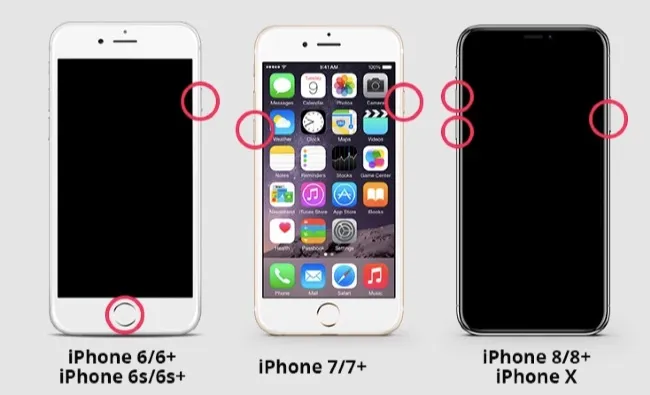
Certainly, device restarting is one of the most effective approaches to resolve the majority of the errors. Likewise, to solve the issue of iPhone error 2009, it is recommended to reboot your device and restart it.
If you confronting the error code 2009 on your iPhone or iPad, then check if an update for iTunes is available. After updating iTunes, there will be less chance for iTunes errors. Follow the below steps for an efficient update of iTunes:
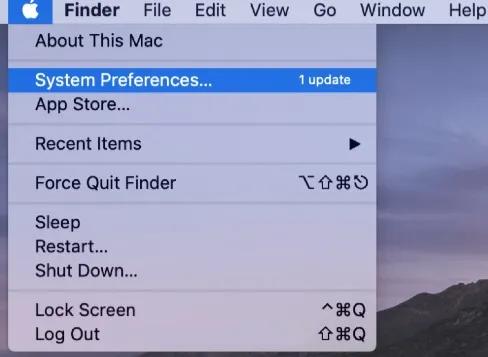
On Mac
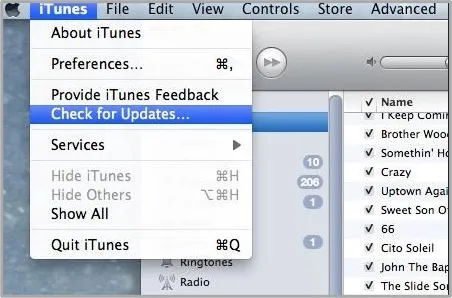
If you cannot find any update for iTunes, check on the Mac App Store for the same.
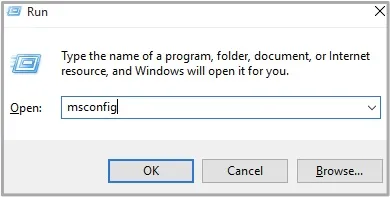
On Windows:
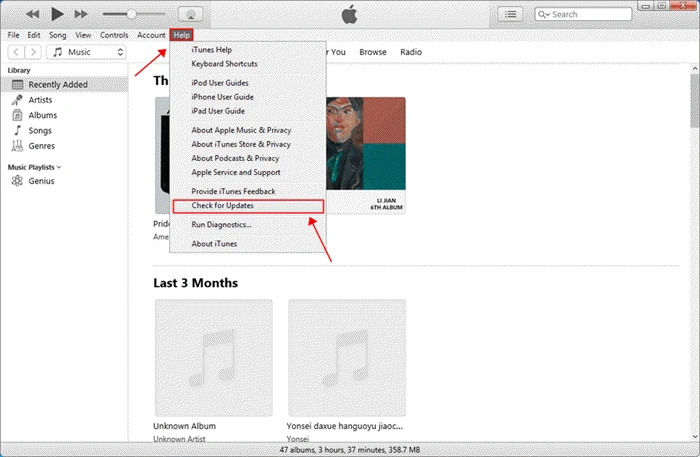
To ensure that your file is not violated or carrying malware, uninstall the existing iTunes app from your device and install it again. Finally, check if the error has been resolved.
Visit https://www.apple.com/itunes/download/ to install the latest version of iTunes.
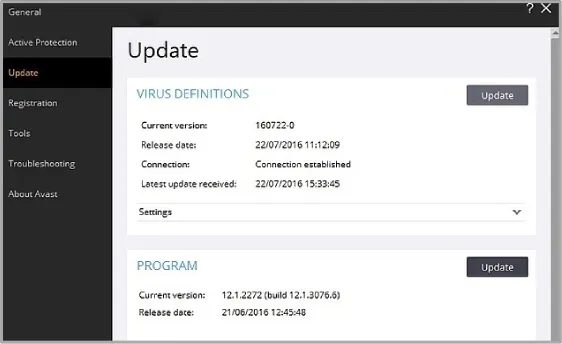
Installing a legitimate Antivirus program is integral. Using a computer without legitimate Antivirus program may lead to numerous technical errors such as malware attacks and further result in iTunes error 2009.
To avoid such issues, installing a trusted Antivirus software and check for regular updates to ensure that your iPhone is secured.
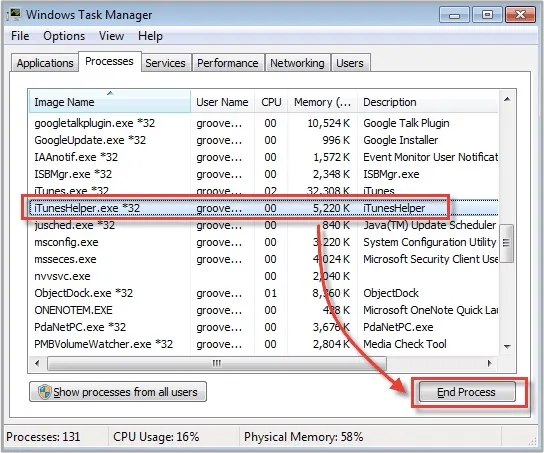
Is the iPhone error 2009 still there after trying the methods above? You can disable iTunes helper to fix it on your computer.
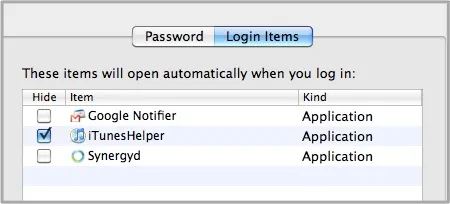
For Mac
Follow these steps for disabling iTunes helper on Mac:
For Windows
Here we present a credible tool, FoneGeek iOS System Recovery. An ideal tool for resolving issues on your iPhone caused by any software glitches.
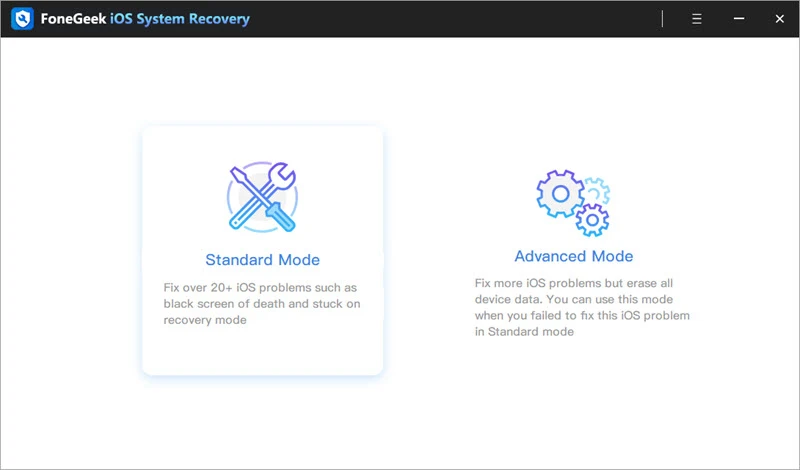
FoneGeek iOS System Recovery is among the most efficient and time-saving tools devised to assist iOS users in fixing infuriating issues without any data loss. It offers two modes, i.e., Advanced Mode and Standard Mode. The Standard Mode aids in addressing common iOS system errors. When you failed to repair iOS issues in Standard Mode, fix it with the Advanced Mode that governs the problem by erasing data from the device.


Follow a step-by-step guidance to fix iPhone error 2009 in standard mode:
Step 1: Download and launch the FoneGeek iOS System Recovery on your computer and select ‘Standard Mode’ on the home page.
Step 2: Connect your device with the computer via a USB cord. If the device has iOS 12 or above and is in a normal mode, unlock it and click ‘Next’.
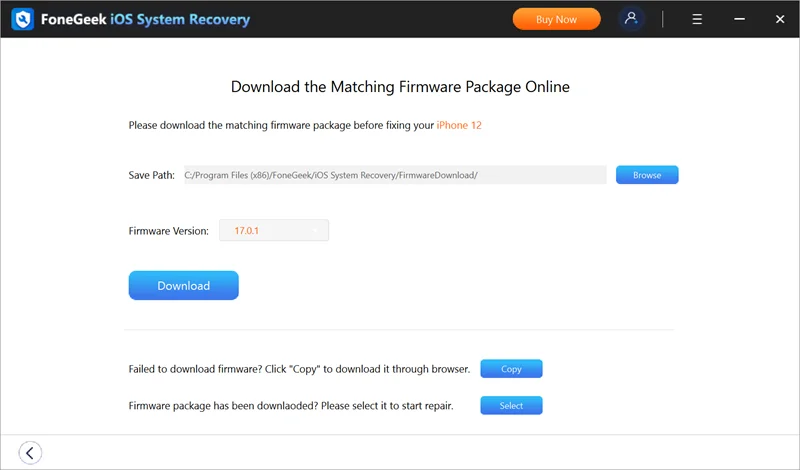
Step 3: Select the preferred iOS firmware program and download it on your computer.
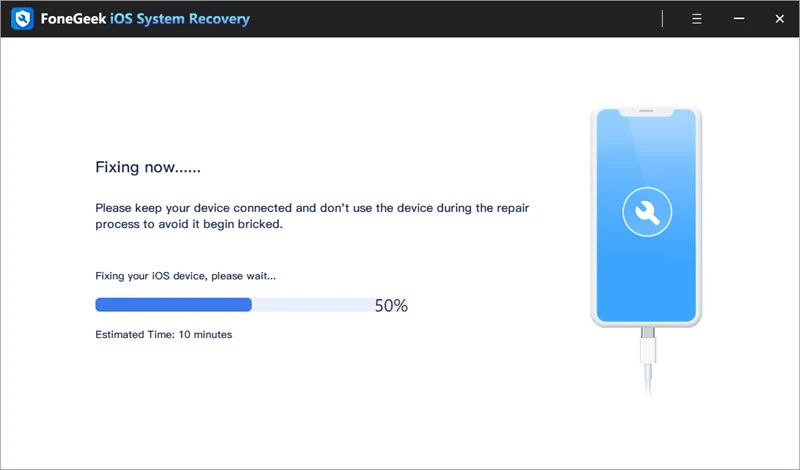
Step 4: After downloading the iOS Firmware program, click ‘Fix Now’ to get your iPhone in a stable and safe condition.
If nothing is rectifying the iTunes error 2009, visit a nearby Apple repair shop and take professional help to assist you through.
To prevent annoying iTunes error 2009, employ the following methods:
This article has featured the quickest and most practical solutions to resolve the iPhone error 2009 that you might have encountered while restoring or updating your iPhone. As we have seen, FoneGeek iOS System Recovery can solve iPhone/iPad errors in just a few clicks while safeguarding your personal data.
Joan J. Mims is interested in researching all tips about iPhone, iPad and Android. He loves to share useful ideas with all users.
Your email address will not be published. Required fields are marked *


Copyright © 2025 FoneGeek Software Co., Ltd. All Rights Reserved


 English