
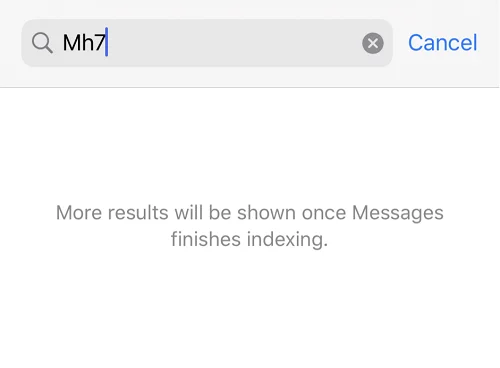
“My search messages aren't working because it says still indexing. It has been like that for a month. I tried toggling off and on, etc...very difficult now to find content and contacts in my messages.”
Do you get a notification that says, "More results will show once Messages finishes indexing" on your iPhone? Are you unable to view all your text messages or attachments because messages are still indexing?
You are not alone. May iPhone users have trouble indexing messages, particullarly after updating to the latest iOS version. The good news is that you can solve this issue with a few simple fixes.
In today’s guide, we will let you know what causes the iPhone messages indexing issue and what you can do to fix it. Keep reading!
After every major software update, your iPhone will require reindexing some of its content like messages. How long does it take messages to finish indexing? Typically, the indexing process requires a few seconds to be done.
Why are my iPhone messages still indexing? In some cases, the indexing may take a few hours to a day, depending on the network connection, storage space, and the amount of data that needs to be indexed.
When the iPhone faces an indexing error, you won't be able to view the messages. Don’t worry, the text messages are not removed from your iPhone and can still be accessed. If the situation continues for a long time, you can follow the solutions below to solve the problem.
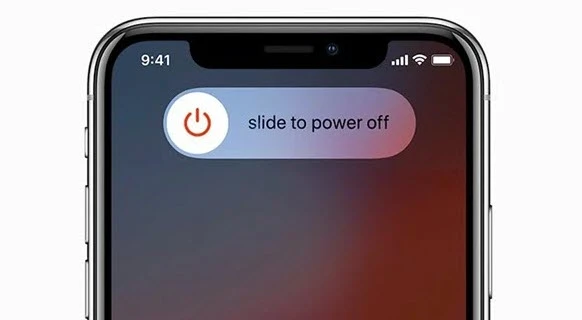
The first thing you should do is restart the iPhone. It could solve the messages indexing error. Here is how to do this:
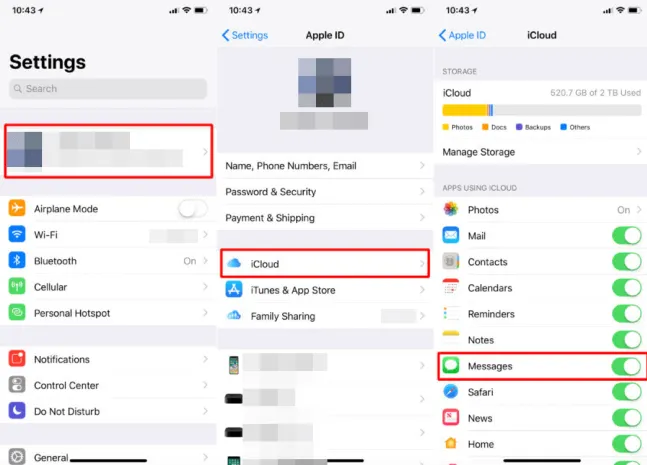
Sometimes, the error can be caused by the iCloud syncing. In this case, consider turning off the iCloud Messages and turning it back on again. Here is what to do:
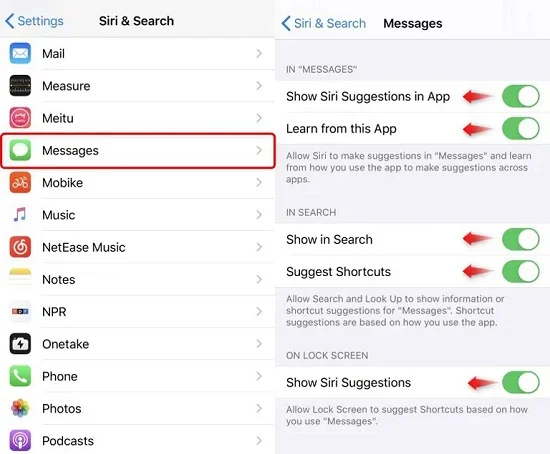
iPhone enables you to update or alter the indexing settings. Updating the settings might help you to get rid of the issue. Here is how to do this:
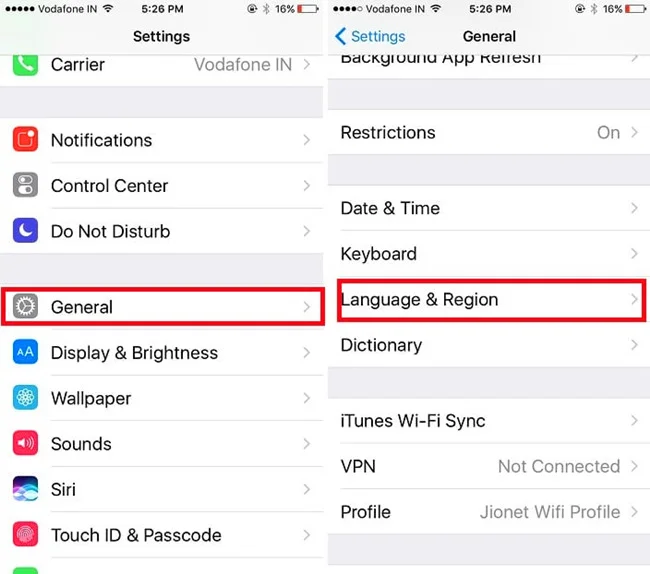
Incorrect language settings can also cause indexing errors. Check the language settings of your iPhone and make sure that it is correctly set. Here is how to do it:
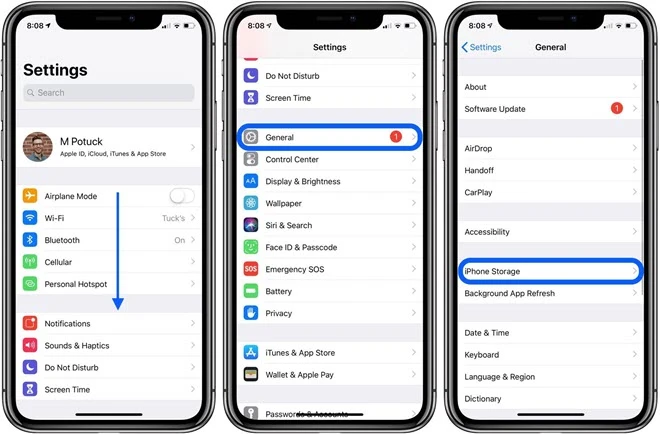
If the iPhone storage is almost full, the messages may not finish indexing cause there is not enough space for a message archive.
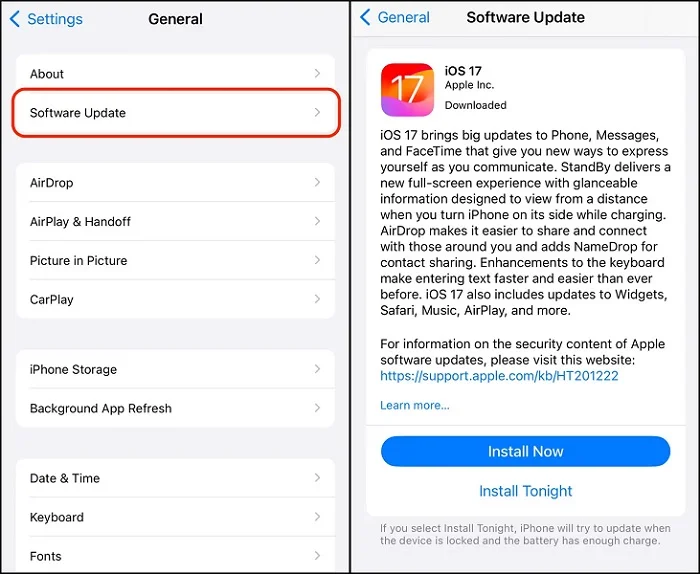
Is your iPhone running an old iOS version? If so, consider upgrading to the latest version. Follow the below steps to check for updates:
If you have iCloud enabled on your iPhone, then there is no need to worry about losing the messages. That is because all the data, including the messages, will be backed up in the iCloud server. That means you can retrieve the messages anytime on your Mac, iPad, or other Apple devices that are signed with the same iCloud account.
You can temporarily stop iCloud backup to see if it is causing the indexing error. If you want to do so, follow these steps:
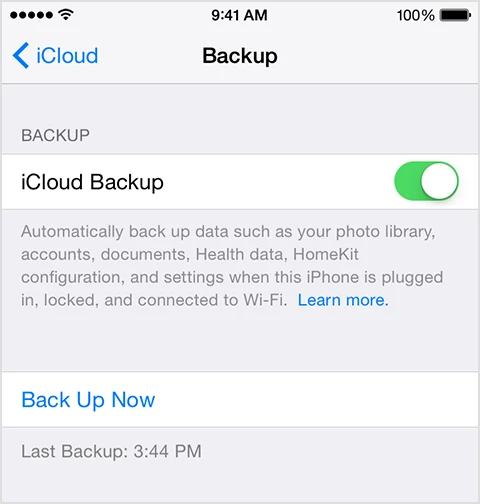
This will make sure all the messages and other content of the device are locally accessible.
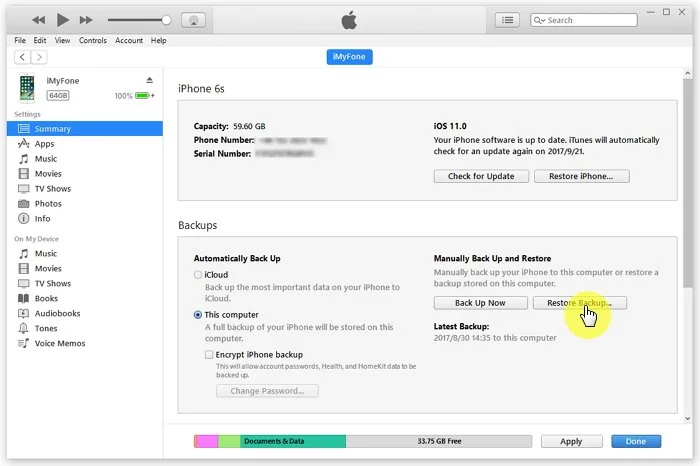
If none of the above options works, consider restoring the iPhone from a previous iTunes backup. Here is how:
If you still cannot sort out the problem, a third-party tool might be the best option. You can utilize the FoneGeek iPhone Data Recovery program to quickly view the old or deleted messages on your computer. It also enables you to access other types of content, including contacts, photos, videos, notes, WhatsApp messages, Safari history, and more.


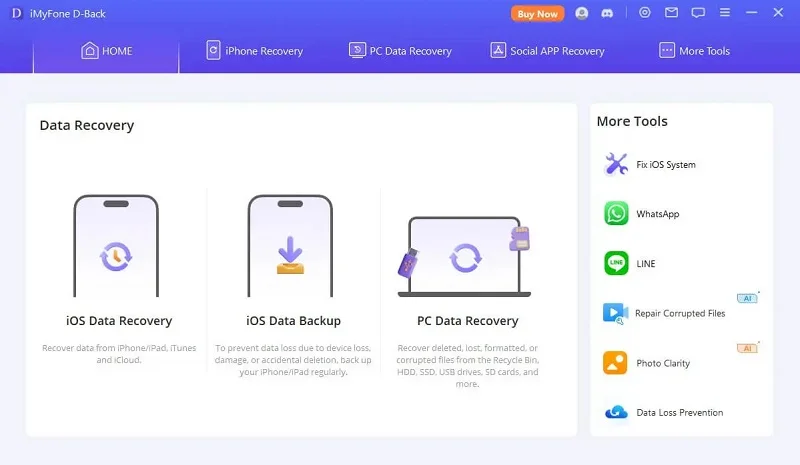
Step 1: After downloading FoneGeek iPhone Data Recovery to your PC, install it with the on-screen guide. Then, launch it and attach the iPhone to the PC. Press "Recover Data from iOS Devices" on the app interface.
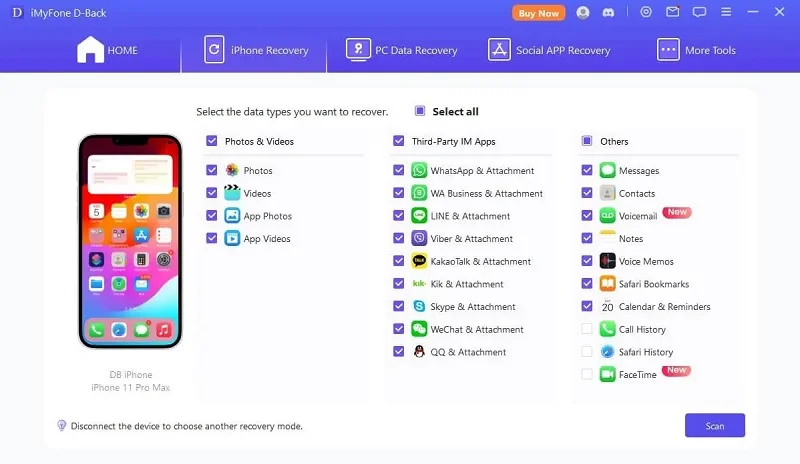
Step 2: Now select Messages or other types of data you want to recover. Then press “Scan”. This will begin scanning for the deleted files of the device.
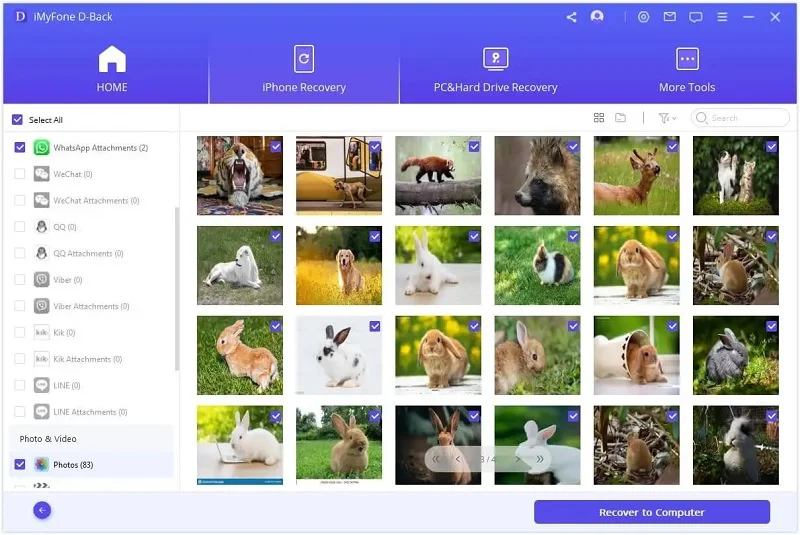
Step 3: Once the scan is completed, you will find all the removed and available data listed as categories. Select "Messages" and click "Recover to PC". That's it; the messages will be downloaded on your PC.
Messages are indexed automatically on iPhone. However, the indexing process may not finish for network connection or storage issues. In such a situation, you can try the solutions above to make the message indexing process faster.
The time to index messages varies depending on how many texts are indexed. If you decide to index the messages for years, it may take one day.
Being unable to check the important messages on your iPhone can be very frustrating. However, you can now easily solve the iPhone messages keep indexing issue by following the above fixes.
If you are in a hurry and want to view your old messages quickly, consider using the FoneGeek iPhone Data Recovery program. By using it, it can quickly recover the messages and check them.
As a professional writer who is interested in technology, Edwin J. Parke has helped thousands of users by offering various tips to solve their problems.
Your email address will not be published. Required fields are marked *


Copyright © 2025 FoneGeek Software Co., Ltd. All Rights Reserved


 English