
“My iPhone 16 is disabled and when I try to restore it by connecting to iTunes, a message ‘iTunes could not connect to this iPhone. The value is missing’ message pop up. I am unable to continue from here. How can I fix it? Please help”
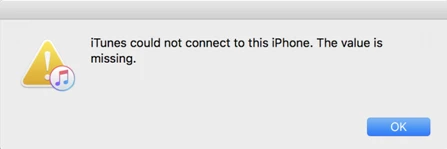
A lot of users have been troubled with iTunes errors. One of the most common ones is “iTunes could not connect to this iPhone. The value is missing” when trying to restore or update an iPhone/iPad.
The missing value error message indicates that the iTunes fails to detect the device, and therefore it cannot be restored or updated as normal. This iTunes error will appear in situations when:
If this is the error that you keep seeing, don’t worry, this post will offer you several troubleshooting tips to fix the problem. Follow one of the solutions below to get out of the annoying situation.
If iTunes is unable to connect to your iPhone due to an error reading from the device, it may indicate a faulty USB cable or port. This issue can disrupt communication between your computer and iPhone.
This issue may arise from various factors, such as a faulty USB cable, iTunes installation issue on your computer, or a software conflict, etc.
Ensure that your USB cable is securely connected to computer's port. If you have a Mac with multiple USB ports, try each one to see if it resolves the issue. Additionally, consider using a different cable or connecting your iPhone to another computer to troubleshoot further.
The value is missing error can occur when you are running an outdated version of iTunes on your computer. Therefore, the most effective solution is to update iTunes to the latest version. Follow these simple steps to update iTunes:
Update iTunes on Windows

Update iTunes on Mac
If you are using a Mac computer, you can update iTunes by:
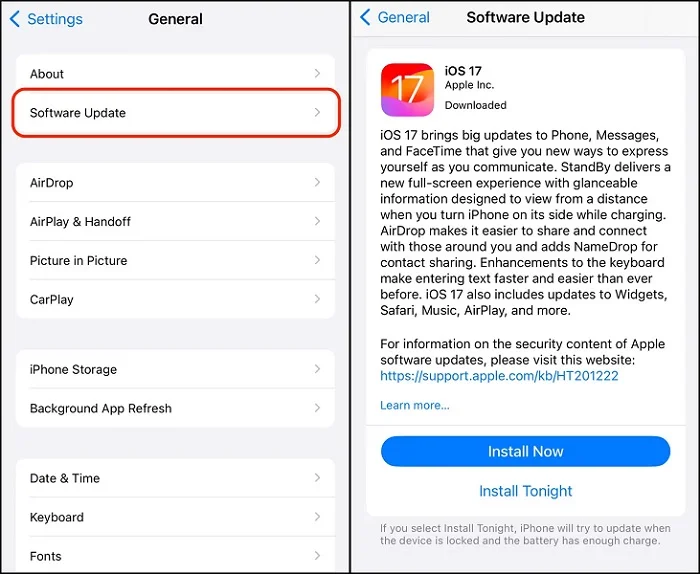
This is a common reason that, if ignored, may result in the issue of iTunes could not connect to this iPhone. To fix this issue, ensure that your iOS is up to date by following the steps below:
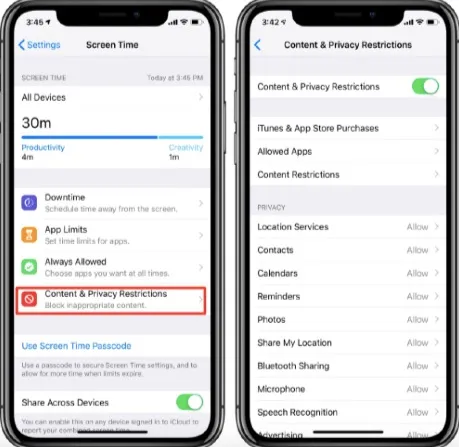
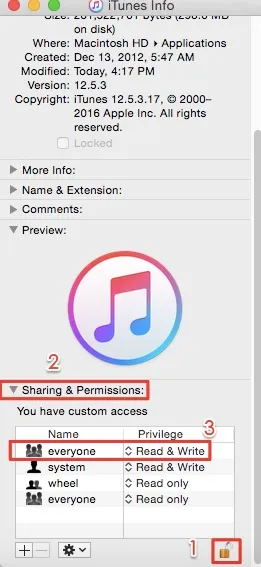
The Privacy & Restrictions settings on your iPhone can also cause iTunes fails to detect the device, giving rise to this value is missing issue. To remove these restrictions, follow these simple steps:
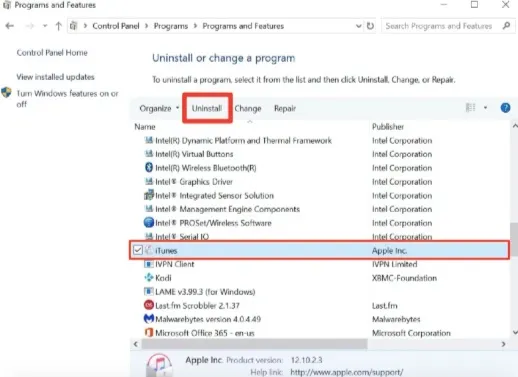
If updating iTunes doesn’t work to fix the problem, you should consider uninstalling and reinstalling it. Keep in mind that you can only do this on Windows PC; you can’t uninstall iTunes on a Mac (especially for macOS Catalina 10.15 where iTunes has been replaced by Finder). To uninstall iTunes on your Windows computer, follow these simple steps:
For Mac users,
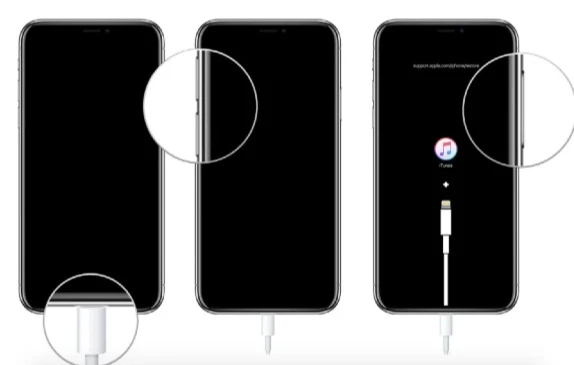
If iTunes fails to detect your iPhone in normal mode, putting the device into recovery mode is one way to mitigate this error and allow iTunes to detect it. To restore the iPhone in recovery mode, follow these simple steps:
Step 1: Open iTunes and then connect the iPhone to the computer. If you are use a Mac with macOS Catalina 10.15, open Finder.
Step 2: Now follow the procedure below to put your device in Recovery mode depending on the device’s model:
Step 3: iTunes should now be able to detect the iPhone and will offer you the option to either “Update” or “Restore”.
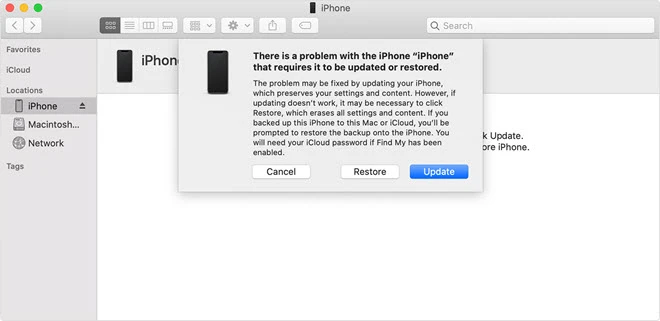
Step 4: Click on “Restore” and keep the device connected until the process is complete.
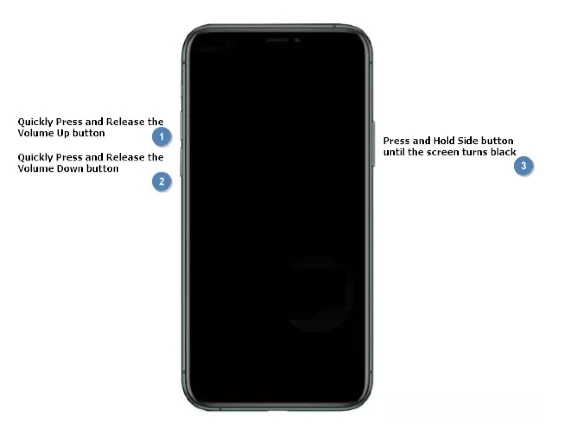
If recovery mode fails, you can go one step further by putting the device in DFU mode. Like recovery mode, DFU mode will allow iTunes to easily detect the device, allowing you to update or restore it as needed. Here’s how to put your iPhone in DFU mode:
Import Note: Putting iPhone in Recovery mode or DFU mode will erase all the existing data on the device. So, you’d better ensure that you have the latest backup either in iCloud, iTunes, or using third-party iOS Data Backup & Restore tool. Therefore, you can easily restore your important iPhone data from backup.
If you see the error “iTunes could not connect to this iPhone. The value is missing” when your iPhone is disabled due to some reason, you can use FoneGeek iOS System Recovery. This tool is ideal for resolving of all iOS issues without an iTunes restore. Some of its features including the following:


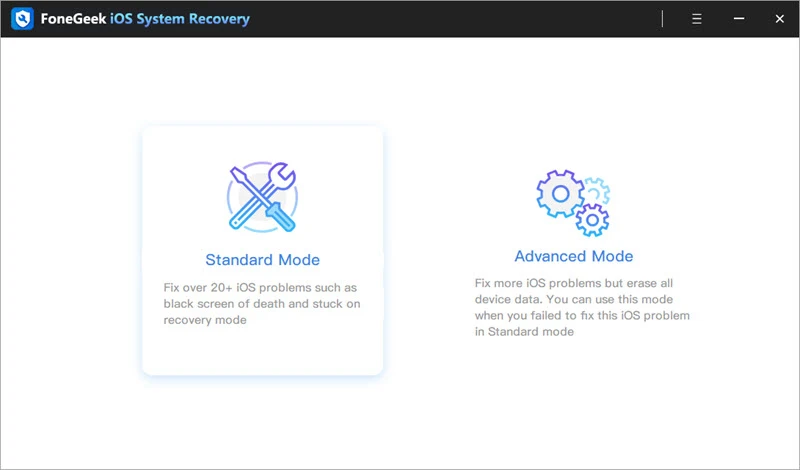
Step 1. Download FoneGeek iOS System Recovery and run it. Go to ‘Standard Mode’.
Step 2. Click the ‘Next’ button and the device should be set into Recovery/DFU mode to get the device detected.
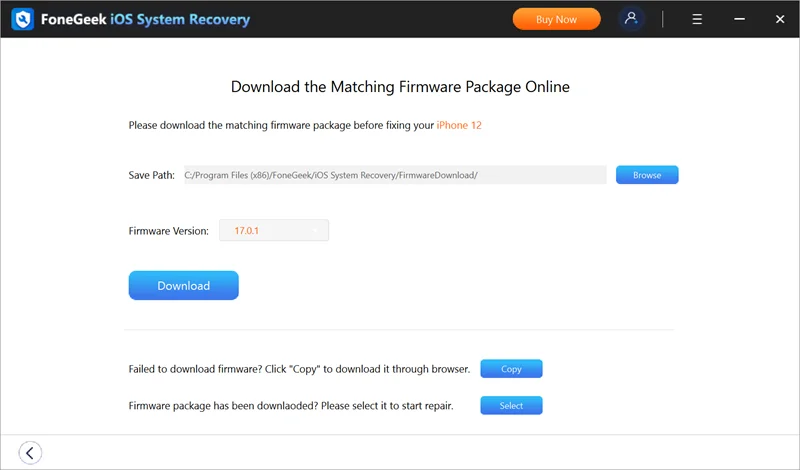
Step 3. Choose the firmware you prefer and click on ‘Download’.
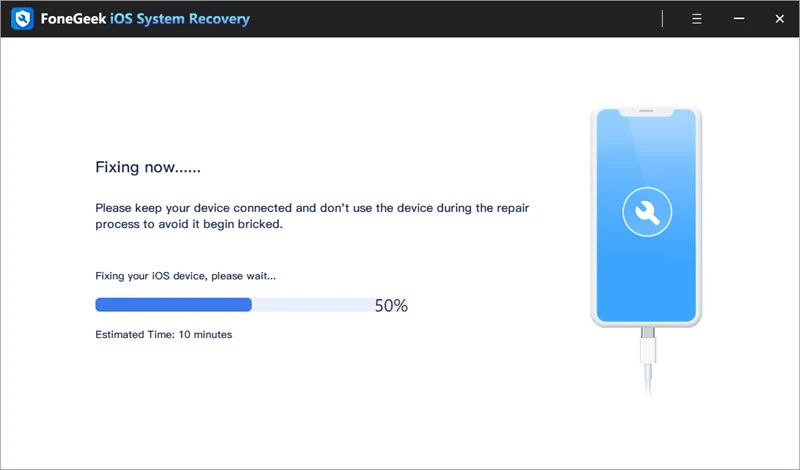
Step 4. When the firmware is downloaded, you can start to fix your device.
It’s incredibly frustrating to encounter the “iTunes could not connect to this iPhone. The value is missing” error, as it prevents you from restoring or updating iPhone. Fortunately, you can easily restore or update your iPhone after reading this article.
As a professional writer who is interested in technology, Edwin J. Parke has helped thousands of users by offering various tips to solve their problems.
Your email address will not be published. Required fields are marked *


Copyright © 2025 FoneGeek Software Co., Ltd. All Rights Reserved


 English