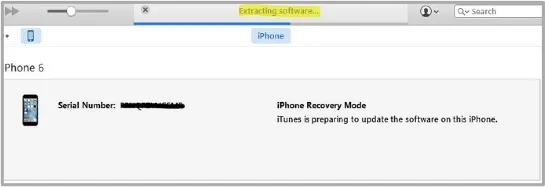
iTunes resolves different iOS software problems within 30 minutes. If iTunes fails to restore your device in 30 minutes, or the iTunes process bar is slow or not moving, iTunes restoration process may be stuck on extracting software. In this case, iTunes will not repair the iOS problem or restore your iPhone.
Why is iTunes stuck on extracting software and how do you fix the problem? In this article, we reveal different causes for this error and 7 easy methods to fix the problem.
Why Is iTunes Stuck on Extracting Software
Here are the possible causes of iTunes restore stuck on extracting software:
- Outdated iTunes version: Using an old iTunes version to fix your iOS problems can cause the software to get stuck when extracting because it needs the required updates to resolve the problem.
- Poor network connection: For iTunes to work, you need a strong internet connection through the repair process. If the internet connection is poor or gets disconnected during the repair process, iTunes may get stuck on extracting software.
- iPhone storage is full: If you don't have enough data storage space on iPhone, iTunes can get stuck on extracting software.
- System glitch: The system glitch on your iPhone or PC can cause this iTunes error.
- Installing third-party security software: Third-party security software programs on your device or PC can interfere with iTunes' functioning.
Now that we have identified the causes, let’s check out how to fix this issue.
Fix iTunes Stuck On Extracting Software: Basic Solutions
Regardless of the reason your iTunes is stuck on extracting software, one of these fixes is guaranteed to resolve the problem by yourself.
Note: It may cause a lot of trouble if your iPhone data get lost due to improper operation. Have you even backed up your device? If not, you can use iTunes or iCloud to back up important data on your iPhone to avoid data loss.
Update iTunes Version
An old iTunes version can get stuck in extracting software. In this case, you can fix the problem by updating the iTunes version on your PC to the latest version.
To update iTunes on Windows:
- Launch iTunes on your PC and go to “Help.”
- Click on ‘Check for Updates’ option and see if there is a new iTunes version available.
- Follow the on-screen instructions to select, download, and install the latest iTunes version on your PC.
- When you have installed the latest version, check if the iTunes program works properly.

To update iTunes on Mac:
- Tap on iTunes icon on the top menu bar and click "Check for Updates".

Connect to a Stronger Wi-Fi/Internet Network
Since the poor network connection can cause iTunes to get stuck on extracting software, connecting your PC to a stronger network can fix the problem.
Here is a detailed guide for this method:
- Check your network or Wi-Fi connection and the condition of the router. If you connected to the router using a USB cable, check that the cable isn’t faulty.
- Disconnect your PC from the network and connect again.
- If step 2 doesn’t resolve the problem, you should connect your PC to a stronger network. To do this, turn on the PC’s Wi-Fi and see the list of available networks. The strongest one will have the most bars.
- After reconnecting to a stronger network, you might need to restart the iTunes repair process, which should fix the problem.
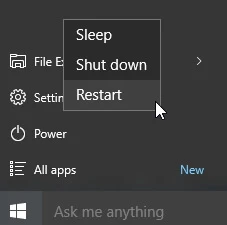
Restart Your PC
Restarting your PC can help fix glitches and bugs causing the “iTunes stuck on extracting software” error. Here is a detailed guide for this method:
- From the Start icon on your PC, click the power button and click the ‘Restart’ option. You can also long press the “Power” button on your PC till the system shuts off. Then long press the ‘Power’ button again till the system comes on.
- When the PC restarts, relaunch iTunes and see if the problem is resolved.
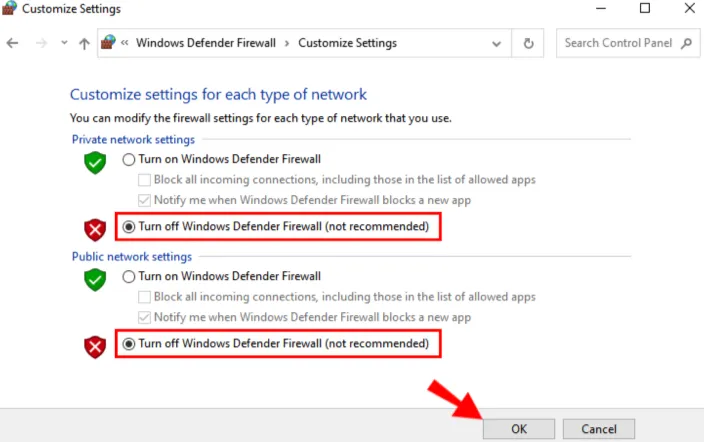
Disable Windows Firewall Or Third-Party Security Software
Windows firewall and third-party security programs on your PC can prevent iTunes from connecting to Apple servers. In this case, iTunes may get stuck on extracting software. So, disabling the windows firewall and third-party security software can help iTunes work properly.
Here is how to disable the windows firewall on your Windows PC:
For Windows version: Open Control Panel and click on System and Security > Windows Firewall to select ‘Turn off Windows Firewall’.
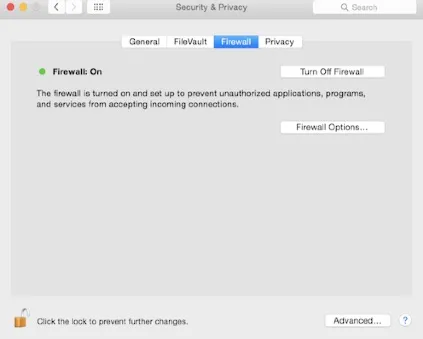
For Mac version:
- Click on the Apple menu and go to ‘System Preferences’.
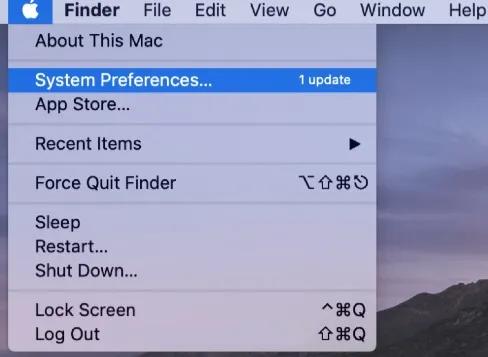
- Select the ‘Security and Privacy’ option.
- Wait for the pop-up menu and click on the ‘Firewall’ tab.
- You’ll get an indication that the ‘Firewall’ is on. Then locate the ‘Locked’ icon on the bottom of the screen.
- Click the ‘Locked’ icon to disable the firewall and save changes.
When you disable the firewall, run the iTunes again and see if the problem has been resolved.
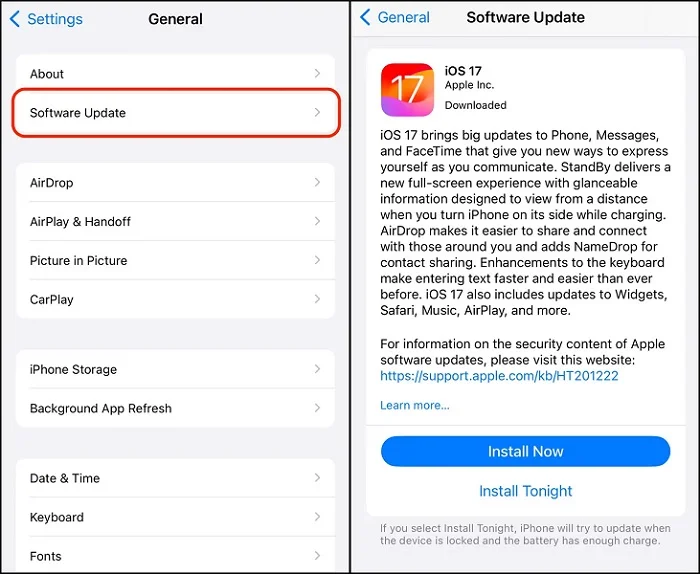
Update iOS Using OTA Update
You can resolve iTunes freezing problem using the “Over-The-Air” update. The OTA update will give you an updated iOS but with smaller update files. This is a good option when your iTunes freezes during an update or repair.
Here is a detailed guide for this method:
- Disconnect your iPhone from PC by removing the USB cord or lightning cable.
- Connect your iPhone to a strong Wi-Fi network.
- Go to ‘Settings’, then click on ‘General’ and select ‘Software Update’.
- Wait for the display message. Then, follow the on-screen prompts to download and install the latest iOS firmware package.
Restore iPhone from DFU (Device Firmware Update) Mode
You should know that restoring your iPhone from DFU mode will erase all data on the iOS device. So, before going forward with this method, you should back up your vital data on iCloud.
Here is how to boot your iPhone into DFU Mode:
- Connect your iPhone to your PC using a USB cord or lightning cable.
For iPhone 6 Series:
- Long press the “Power” button on the side of your iPhone and the “Home” button together for about 10 seconds.
- Release the “Power” button after 10 seconds but hold the “Home” button for 5 more seconds till a black screen is displayed on the screen.
- After the black screen, you’ll get a notification message that “An iPhone has been detected in recovery mode.”
For iPhone 7 series:
- Long press the “Volume Down” button and “Power” button on the side of your iPhone together for about 10 seconds.
- Release the “Power” button but keep holding the “Volume Down” button for another 5 seconds till the black screen is displayed on the screen.
- After the black screen, you’ll get a notification message that “An iPhone has been detected in recovery mode.”
For iPhone 8 and Newer:
- Hold and quickly release the “Volume Up” button.
- Hold and quickly release the “Volume Down” button.
- Then long press the “Power” button until the black screen is displayed on the screen.
- Immediately the black screen comes up on the iPhone screen, long press the “Volume Down” button while still holding the “Power” button for about 5 seconds.
- After 5 seconds, release the “Power” button but keep holding the ‘Volume Down” button until the “iPhone is detected in recovery mode” message is displayed.

While in recovery mode, the iPhone will go black. If you get a message indicating the iPhone should be connected to iTunes, you should retry the steps above.
When the iPhone is successfully detected in recovery mode, click “OK” and wait until the iPhone is restored. This might take a while.
Fix iTunes/iPhone Errors without Data Loss [Recommended]
If the methods above aren’t working for your iTunes and your iPhone still needs a repair or update, you can use FoneGeek iOS System Recovery. This tool is an advanced software to fix multiple iOS system problems without using iTunes. The best part is the FoneGeek tool is super easy to use and will fix your iOS issues in 4 steps.


Here is how to use the FoneGeek Software Program to restore and repair iPhone:
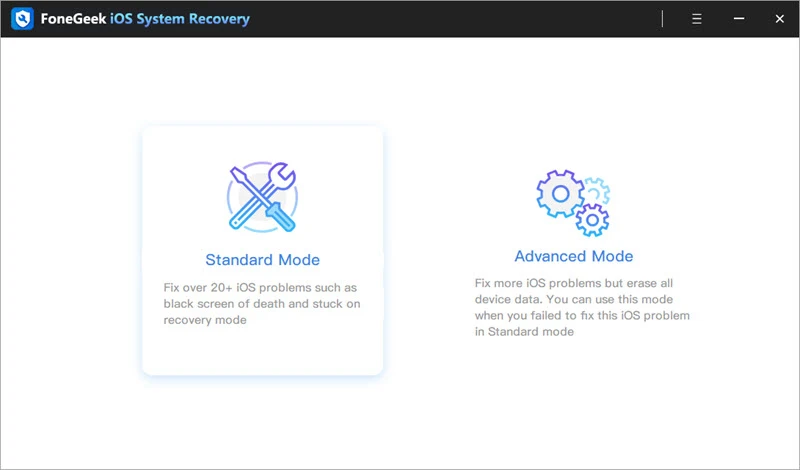
- Download and install the FoneGeek software program on your PC.
- Click on the “Standard Mode” tab and connect your iPhone to computer to get started.
- Download or import the required iOS software program.
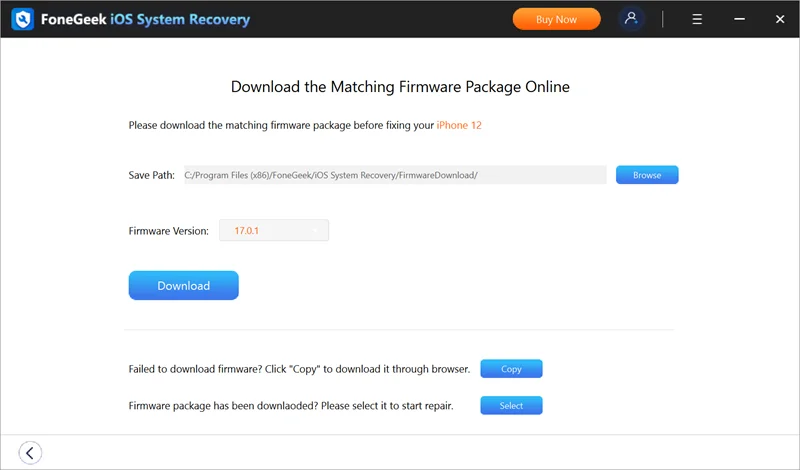
- After downloading the iOS software program, select the “Fix Now” option to continue the installation on your device.
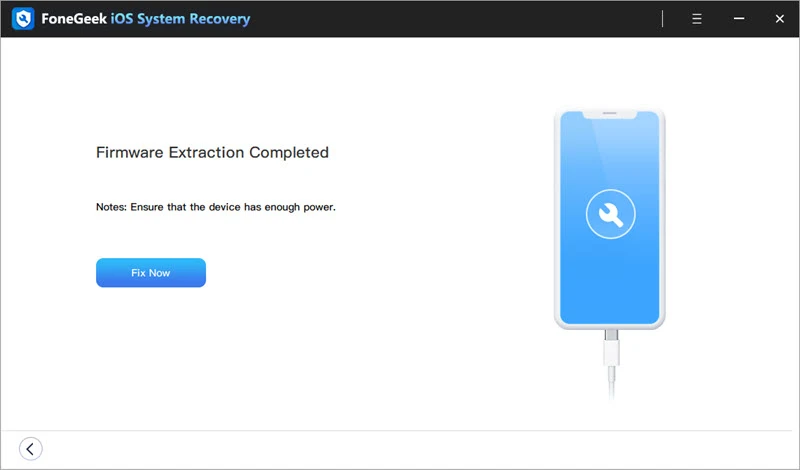
- The FoneGeek software will repair and restore your iOS device.
You’ll be notified once the FoneGeek system repair is done fixing your device.
FAQs about iTunes Stuck on Extracting Software
Q1. How to avoid "iTunes Stuck on Extracting Software" error?
Here are expert tips to help you avoid the “iTunes Stuck On Extracting Software” error:
- Always have a strong Wi-Fi connection before launching iTunes.
- Ensure you have the latest iTunes version on your PC.
- Update your windows PC or Mac to the latest version before using iTunes.
- Disable windows firewall and third-party security programs on your devices before connecting or using iTunes.
- Maintain your iTunes to ensure premium efficiency. You can also use some tools to stay ahead of any problems with your iTunes.
Q2. How long does it usually take for software extraction?
It usually takes 10 to 15 minutes for software extraction to update iPhone. But the time may vary based on the storage speed.
Final Words
In summary, having the “iTunes stuck on extracting software” error can prevent you from fixing your basic iOS problems. To resolve and prevent the reoccurrence of this issue, you should check the network connection and ensure you have the latest iOS and iTunes versions installed on iPhone and computer. Also remember that all your iOS software issues can also be fixed with FoneGeek iOS System Recovery.
So, there you have it. For more expert tips and fixes to your iOS problems, check out other posts on this website.


 English