
iCloud provides an easy way for iOS users to back up valuable data such as photos and videos. Sometimes, you may want to download iCloud photos to your PC as an extra backup or to free up storage space in your iCloud account.
Then how to transfer photos from iCloud to PC? Relax and read on as we will share with you some practical ways to download photos from iCloud to PC; then, you can easily access and view iCloud photos on your PC.
To download and transfer photos from iCloud to PC, you can use FoneGeek iPhone Data Recovery, iCloud.com, or iCloud for Windows. To decide which way to go, you can check out the comparison table below:
| FoneGeek Tool | iCloud.com | iCloud for Windows | |
| Download All Photos | Download all photos at once | Download only 1000 photos at a time | Download all photos at once |
| Preserve Album Structure | Yes | No | No (Download photos by year) |
| Download Photos in Original Quality | Yes | Yes | Not always |
| Recover Deleted Photos | Yes | No | No |
| Download & Transfer Speed | Fast | Slow | Slow |
| View & Select Photos Before Downloading | Yes | Yes | No |
| Using on a Mac | Yes | Yes | No |
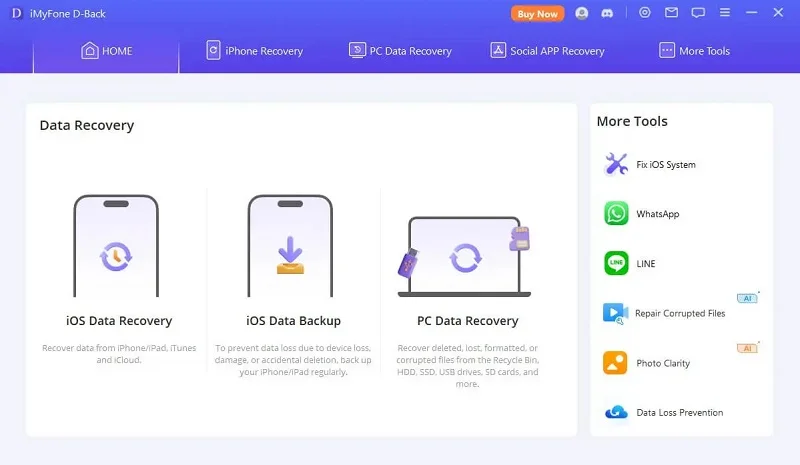
FoneGeek iPhone Data Recovery is a professional software available for both Windows and Mac, which can be used to recover data from iPhone/iPad directly or selectively restore data from iTunes/iCloud backup. Using this tool, you can easily download and transfer partial or all photos in iCloud to PC.
Not only photos, but you can also transfer many other data like videos, contacts, text messages, WhatsApp, notes, etc. You can preview the data in iCloud and select whatever content you want to transfer. It is fully compatible with all the latest iOS devices and iOS versions, including iPhone 16/15 and iOS 18/17.


Here's how to transfer photos from iCloud to PC using FoneGeek iPhone Data Recovery:
Step 1: Download FoneGeek iPhone Data Recovery software on your PC and install it. Run the program and select "Recover Data from iCloud" to continue.
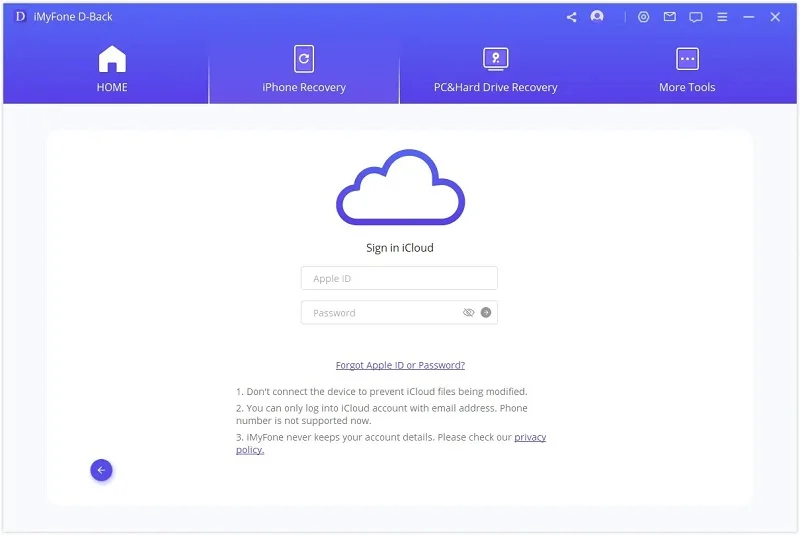
Step 2: Sign in to your iCloud account. Enter the verification code you received if you have enabled the two-factor authentication.
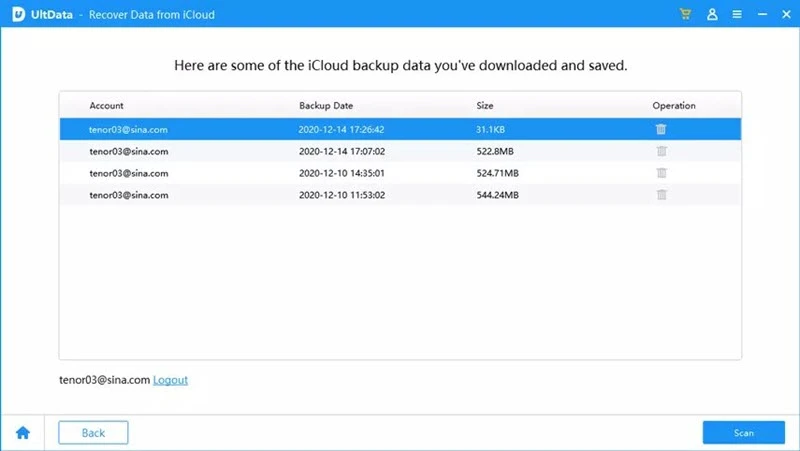
Step 3: Once logged into iCloud, the program will display all backup files in your account. Choose the one where you want to transfer photos and click "Download".
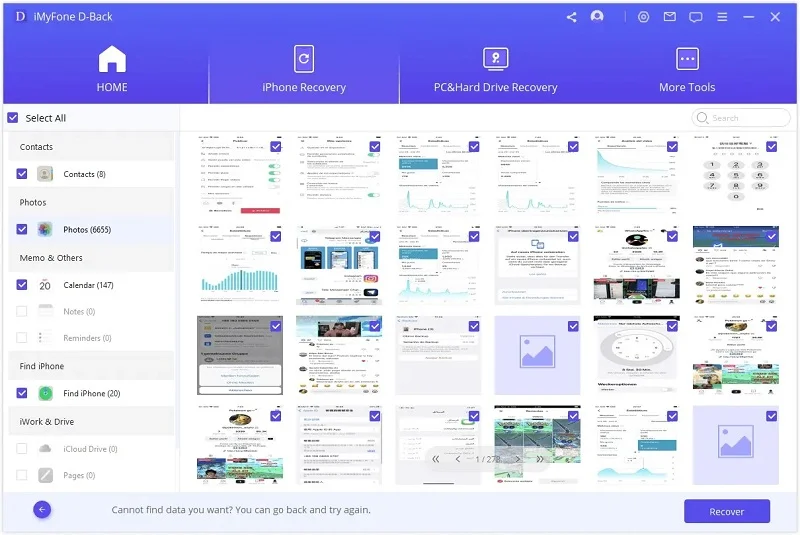
Step 4: In the pop-up window, choose "Photos" and any other type of files you would like to transfer, then click "Recover to PC" to start downloading.
Pros:
Cons:
iCloud.com offers iOS users the option to view and download photos from iCloud to their PC. If the number of photos that you want to download is less than 1000, you can follow this method to transfer photos from iCloud to PC. If you are trying to transfer over 1000 photos, you can move to the following method.

Pros:
Cons:
iCloud for Windows is a great tool provided by Apple that enables you to download photos from iCloud to PC at once. If you want to download more than 1000 photos from iCloud to PC, you can download and install iCloud for Windows on your computer and follow the steps below:
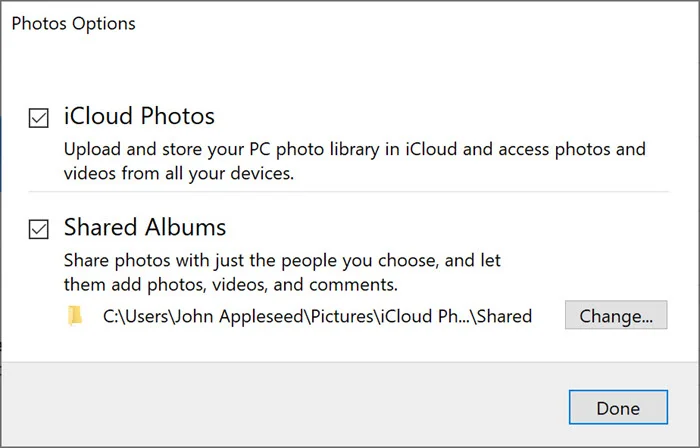
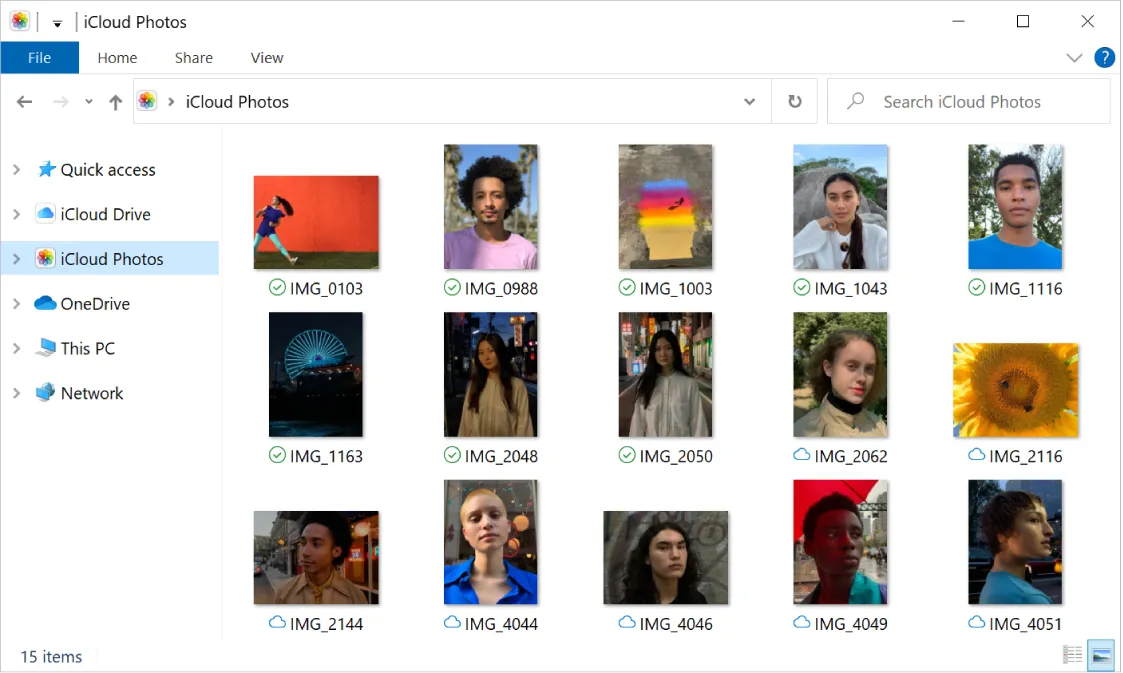
When you add new photos and videos to the iCloud Photos, they will be automatically downloaded onto your PC (Windows 7 and later). However, that's not always the case. You can manually download photos from iCloud Photos to PC via Windows File Explorer. Here is how to do that:
Pros:
Cons:
In this article, we've shown how to transfer photos from iCloud to PC, whether you are using Windows 11, 10, 8, or 7. The processes involved are straightforward to implement. Do let us know if these solutions worked for you. Please feel free to leave your questions or problems in the comments below.
Fay J. Melton has explored the area of technology and software for more than 5 years and he is enthusiastic about helping users solve various technology issues.
Your email address will not be published. Required fields are marked *


Copyright © 2025 FoneGeek Software Co., Ltd. All Rights Reserved


 English