
“My iPhone is out of storage and has rougly 100GB worth of photos and videos. I just wanted to import thhem to my PC and then erase them from the iPhone. I opened the Photos app but it kept freezing up. What should I do?”
Have you ever run into the same situation? You took a lot of photos and videos with your iPhone, and now there is no enough space on the device.
Then, a series of problems arise. For example, the iPhone runs slower than before and some apps doesn't work as normally. At this moment, you can import photos from iPhone to PC then erase them on the device to free up space.
How to transfer photos from iPhone to PC? You've come to the right place. In this article, we will introduce 5 easy ways to transfer photos from iPhone to Windows PC that works for all iPhone models, including the latest iPhone 13/12 series.
The easiest way to transfer iPhone photos to your Windows PC is to connect the device using an USB cable and then copy all photos using File Explorer (or Windows Explorer in Windows 7).

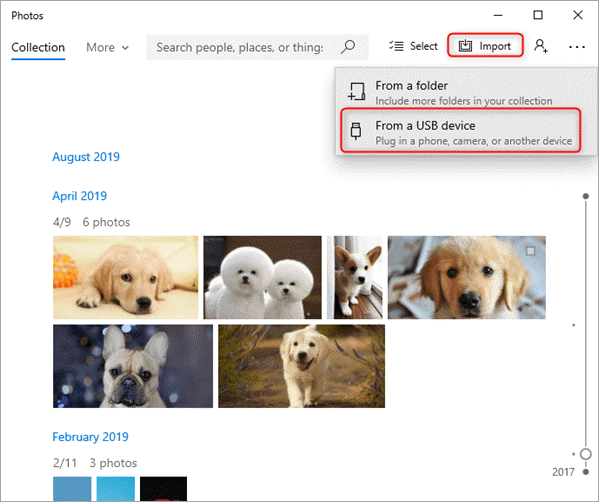
If you are using a Windows 10 computer, you can easily import photos from iPhone to PC using the Photos app. Just follow the simple steps below:
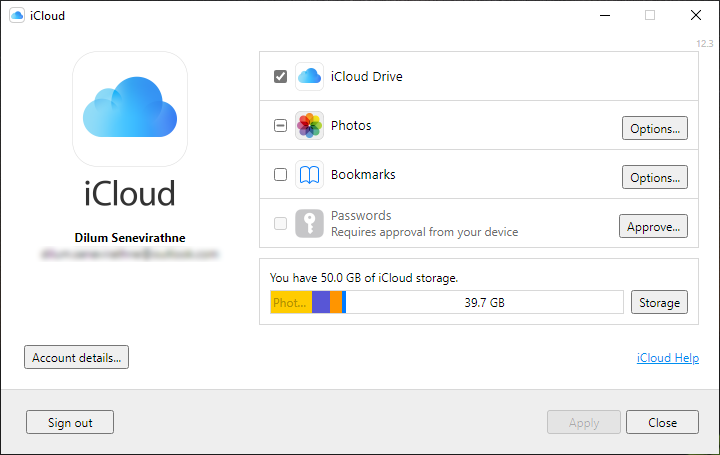
If you have enabled iCloud Photos on your iPhone, you can access and download your iPhone photos on PC via the iCloud for Windows app. However, iCloud only offers 5GB of free space. To transfer all your photos and videos, you may need to upgrade your iCloud storage.
In addition to the iCloud Photos, you can also import iPhone photos to your computer using third-party cloud storage service like Dropbox or Google Photos. For example, if you have Google Photos on your iPhone, you can upload your iPhone photos to Google Photos and then copy them to your computer. Here's how to do it:

One of the most professional way to transfer all photos from iPhone to PC is using a reliable 3rd-party tool: FoneGeek iPhone Data Recovery. Apart from the feature of transferring photos from iPhone to computer, this program also comes with many other features that you cannot imagine.


Download and install FoneGeek iPhone Data Recovery to your computer, then follow the steps below to transfer photos from iPhone to computer.
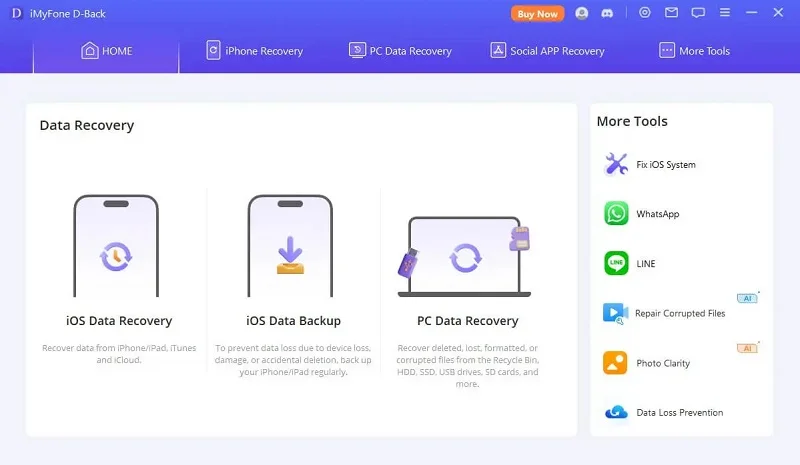
Step 1. Open this program and choose "Recover from iOS Device" option on the main interface.
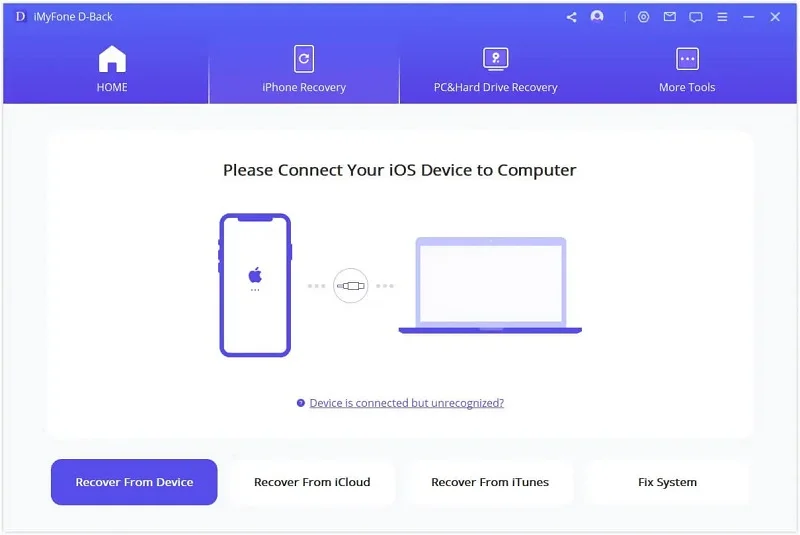
Step 2. Using the original USB cable to connect your iPhone to the computer. And click "Trust" option on the iPhone screen.
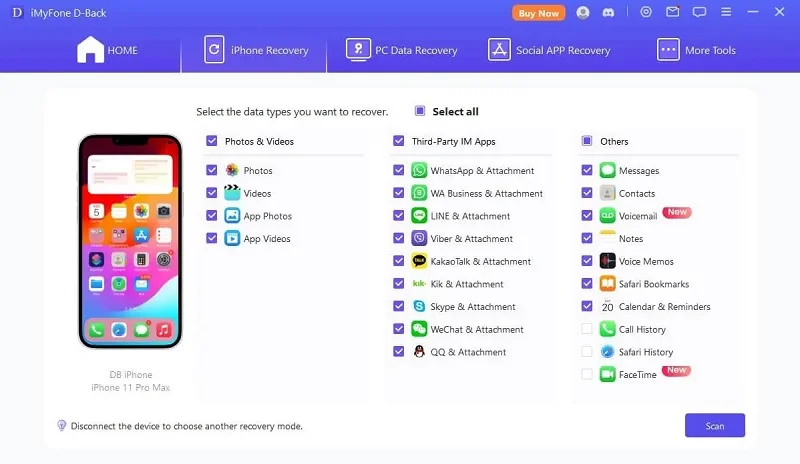
Step 3. Choose "Photos" from all the data types and click on "Scan", the program will start to scan the data that you selected.
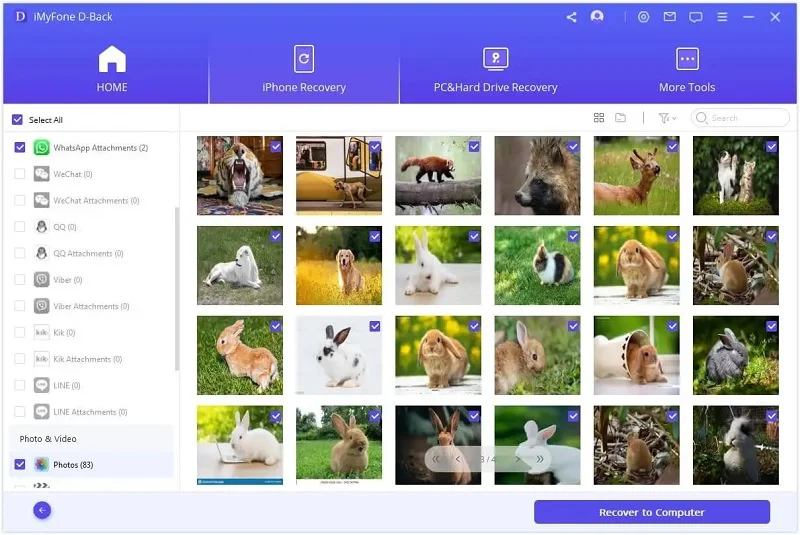
Sep 4. Wait for several minutes until the scanning process is finished. After that, you will be able to preview the photos you need, then tap on "Recover" to transfer the selected photos to PC.
Now you've learned 5 easy ways to transfer photos from iPhone to Windows PC. Just choose the one that best suits you to do the transfer and backup.
If unfortunately, you deleted some photos by mistake and there is no backup, don't worry, you can also use FoneGeek iPhone Data Recovery. This program can directly scan your iPhone and recover deleted photos without backup.
As a professional writer who is interested in technology, Edwin J. Parke has helped thousands of users by offering various tips to solve their problems.
Your email address will not be published. Required fields are marked *


Copyright © 2025 FoneGeek Software Co., Ltd. All Rights Reserved


 English