
If you forgot the password to unlock your iPhone, the device will get locked then. What does it mean if your iPhone is locked? It means that you will not have access to the data such as contacts, text messages saved on your iPhone.
Apple officially provides ways to unlock iPhone by completely restoring the device so it opens without password. What if you don't want to delete all data including contacts on your iPhone?
Don't worry, we are here to guide you the possible solutions to extract and recover contacts from a locked or disabled iPhone. Keep reading.
If you're locked out of iPhone and received a message says that the device is disabled, take it easy, FoneGeek iPhone Data Recovery supports you to export contacts, mesages and many other data from the locked device if it can still be recognized by your computer.
If you have an iTunes/iCloud backup, this program can selectively export locked iPhone contacts from the backup. You don't have to completely restore your iPhone. The following are some of the features:


Now let's see how to use FoneGeek iPhone Data Recovery to export contacts from locked iPhone in three different ways:
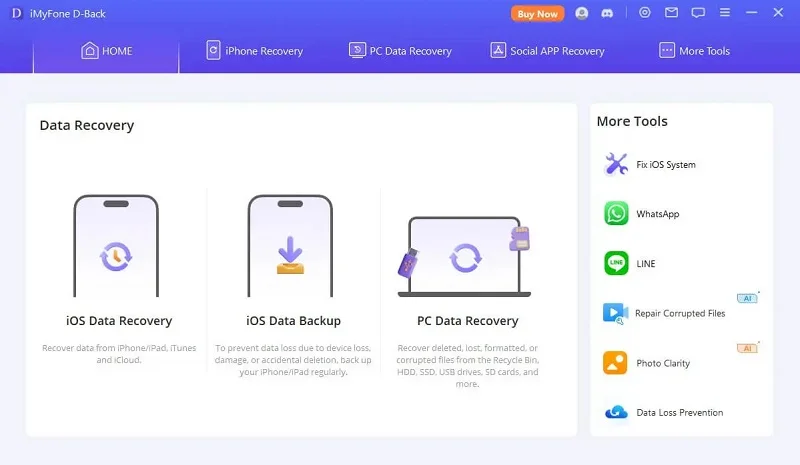
Step 1: Download and install FoneGeek iPhone Contacts Recovery on the computer that can recognize the locked iPhone. Lauch it and choose "Recover from iOS".
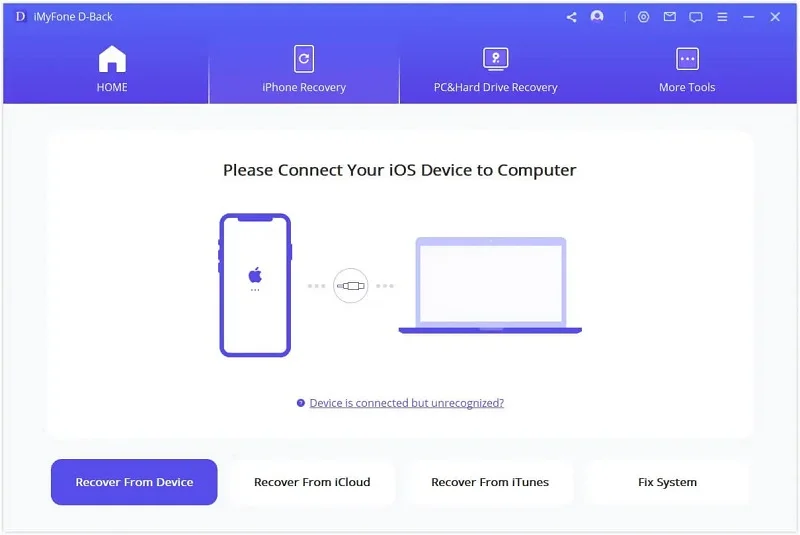
Step 2: Connect the locked iPhone to the computer using USB cable. Once the device is detected successfully, click on "Next" to proceed.
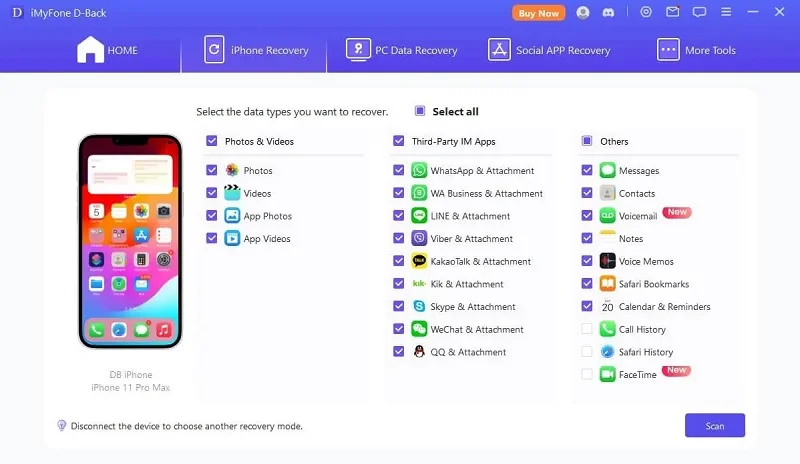
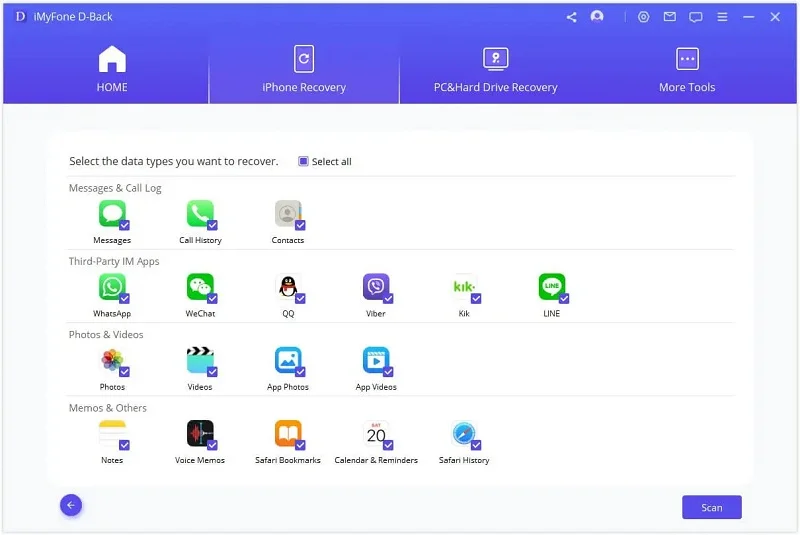
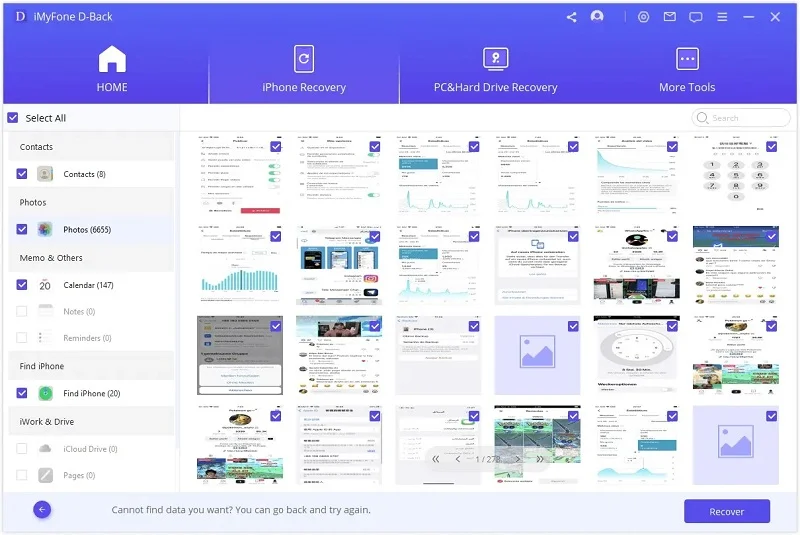
Step 3: In the next window, choose "Contacts" and other types of data if needed, then click on "Scan" begin the scanning process.
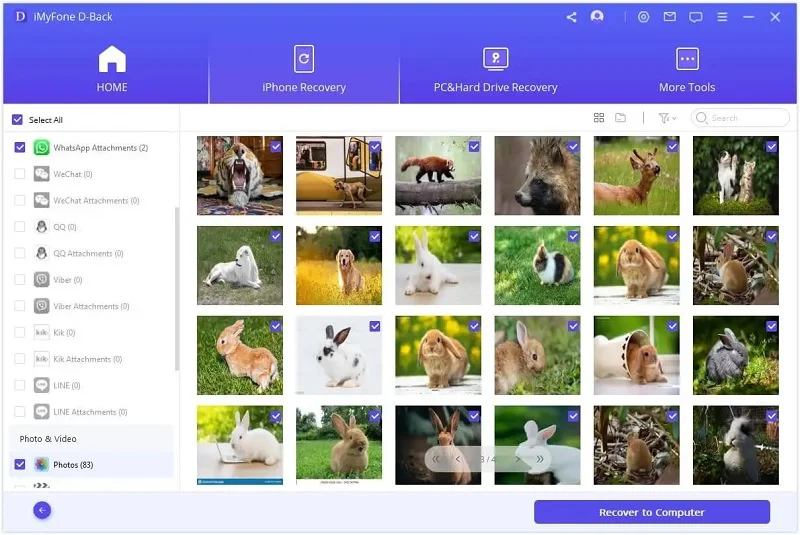
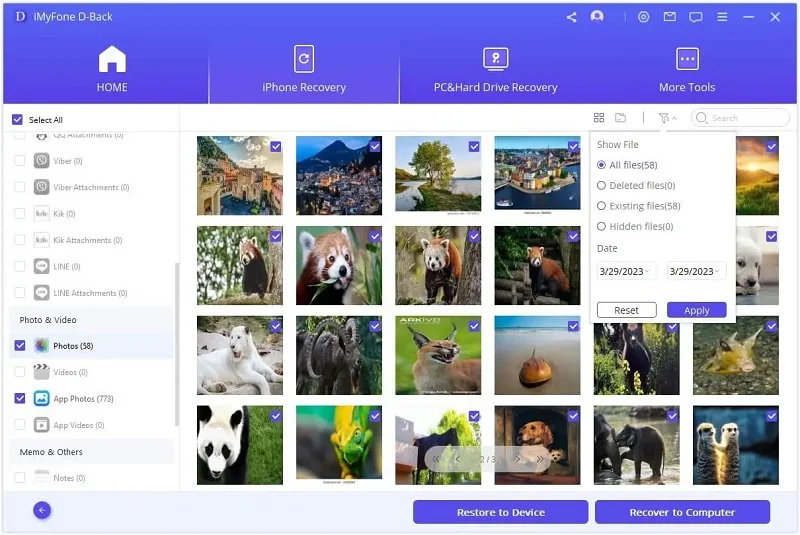
Step 4: When the scan is completed, preview all recoverable contacts and select those you would like to restore, then click on "Recover" to export them to your computer.
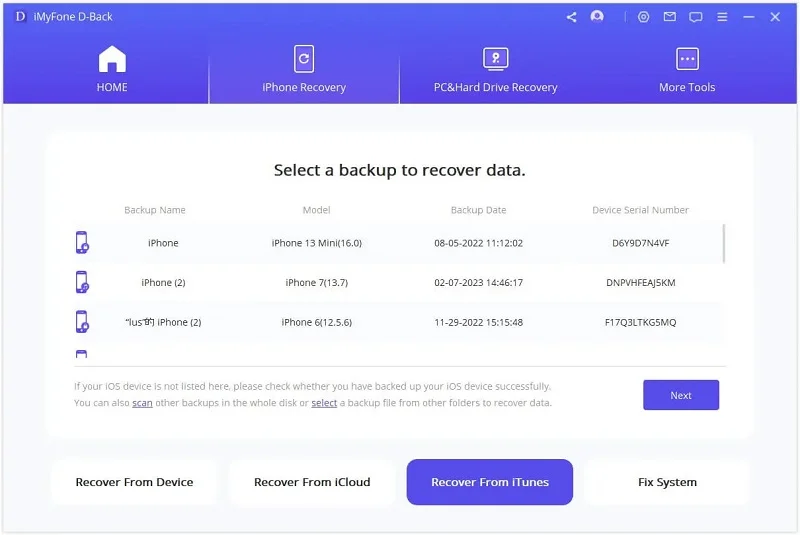
Step 1: Run FoneGeek iPhone Contacts Recovery on your computer and choose "Recover from iTunes Backup".
Step 2: Choose the iTunes backup from which you want to export contacts and click on "Next".
Step 3: Select the data types you need and click "Scan" to scan for all files in the selected iTunes backup.
Step 4: After the scan, choose the contacts that you wish to export and click "Recover".
Step 1: Run FoneGeek iPhone Data Recovery and choose "Recover from iCloud", then click "iCloud" to continue.
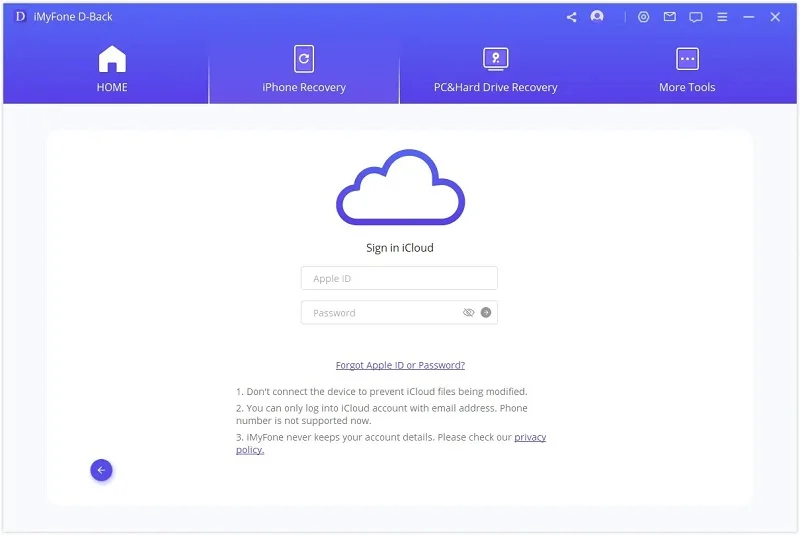
Step 2: Sign in to iCloud account with your Apple ID and password, the program will detect all your iCloud backups. Choose "Contacts" and click "Scan".
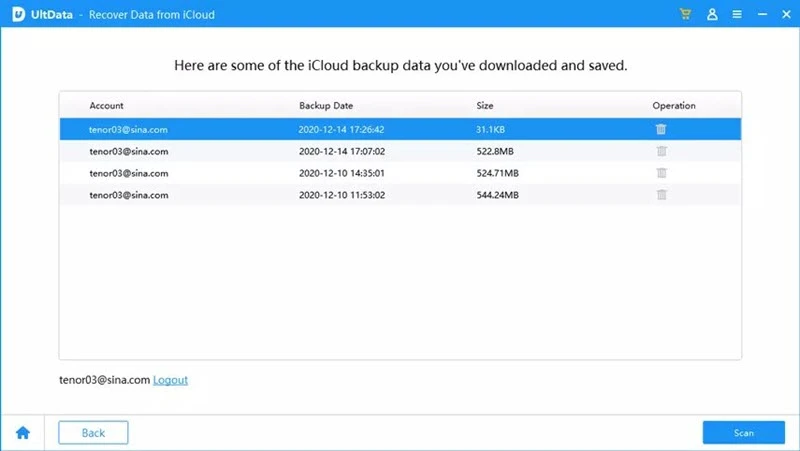
Step 3: When the scanning process is finished, preview and select the contacts that you want to export, then click the "Recover" button to save the contacts on your computer.
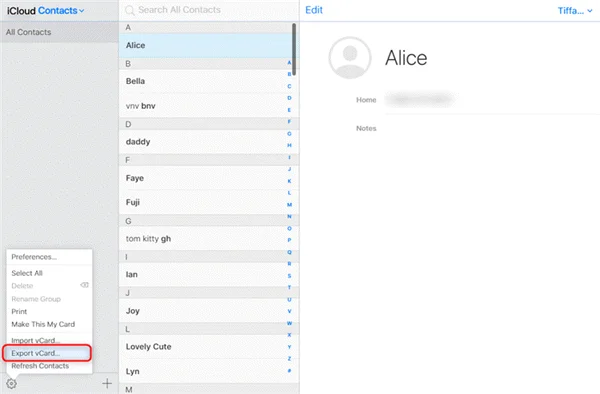
If your have synced iPhone contacts to iCloud prior to the lock, you can easily access your contacts on iCloud and even export them to your computer.
You can transfer the exported contacts to another phone, which is actually a safety net when your iPhone is locked or disabled. Below are the steps on exporting contacts from locked iPhone via iCloud:
If your iPhone gets locked and you have forgotten the password, you can follow the methods below to unlock your iPhone without passcode. Please note that these tips will erase all data and settings on your iPhone. Therefore, we recommend you using FoneGeek iPhone Data Recovery to get data like contacts out of the locked iPhone before removing the passcode.
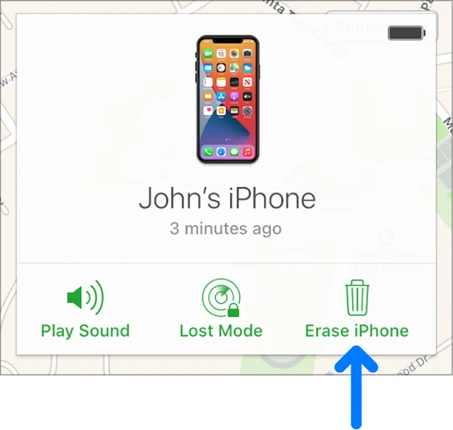
If you have enabled Find My iPhone before the device is locked, you can remotely unlock and erase the device via iCloud on browser. Here's the steps:
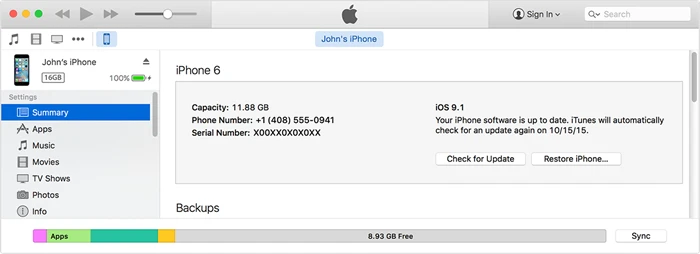
If you have a computer has synced with your locked iPhone before, you can choose "Restore iPhone" to remove the device's screen password.
After connecting the iPhone to iTunes, select the "Restore iPhone" option to clear the iPhone data. In the process, the computer must reinstall the ipsw file to your computer, so it will take some time.
If it's unfortunate that you don't have a computer that syncs with your iPhone, or the iPhone is not synced with any computer at all, you can try the Recovery Mode to erase the iPhone password.
Step 1. Firstly, you have to connect the iPhone to iTunes and put the iPhone into Recovery Mode:
Step 2. After entering the recovery mode, we can also see the "There is a problem with the [device] that requires it to be updated or restored." dialog box on iTunes, select "Restore" here.
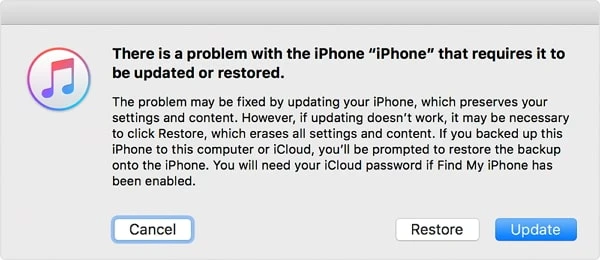
Step 3. After clicking on the Restore button, iTunes will inform you that all the data will be erased. Select "Restore and Update" here.
You can choose the way that suits you most to get into a locked iPhone without passcode. If you're looking for a more efficient way to unlock iPhone without iTunes or iCloud, you can try FoneGeek iPhone Passcode Unlocker. This iPhone unlocking tool ensure a high success rate and it's very easy to use. Download it and have a try.
Fay J. Melton has explored the area of technology and software for more than 5 years and he is enthusiastic about helping users solve various technology issues.
Your email address will not be published. Required fields are marked *


Copyright © 2025 FoneGeek Software Co., Ltd. All Rights Reserved


 English