
Apple officially recommends that iPhone users regularly back up their devices to avoid losing important personal data.
While iCloud and iTunes are the standard backup methods provided by Apple, they may not always meet your needs—especially if you’re dealing with limited storage space or want a physical copy of your backups. That’s where backing up iPhone to an external hard drive becomes a valuable alternative.
In this article, let’s check three different ways to back up iPhone to external hard drive.
One of the best and easiest ways to back up your iPhone to an external drive is to use a third-party tool like FoneGeek iOS Data Backup & Restore. This program makes it very easy for you to backup iPhone/iPad to your computer or an external hard drive without using iTunes. Also, you're allowed to preview the contents in the backup file and selectively restore any data from the backup to your iPhone/iPad.


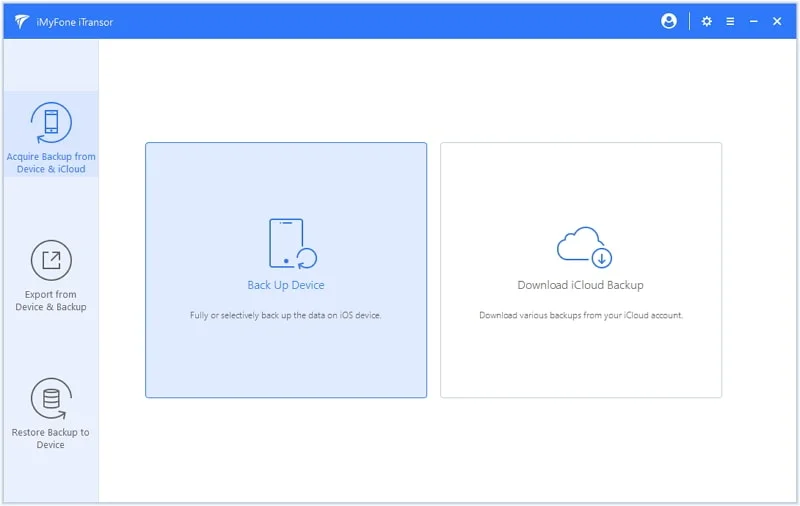
Step 1: Download and install this iPhone Data Backup & Restore tool on to your PC or Mac. Launch it after successful installation and then select "Backup & Restore" from the top menu.
Step 2: Plug your iPhone or iPad to the computer with USB cable and wait for the iPhone data backup tool to recognize the device. Once the program has detected your device, you should see a list of all the data on the device. Here, select the specific types of file that you wish to back up to the external drive.
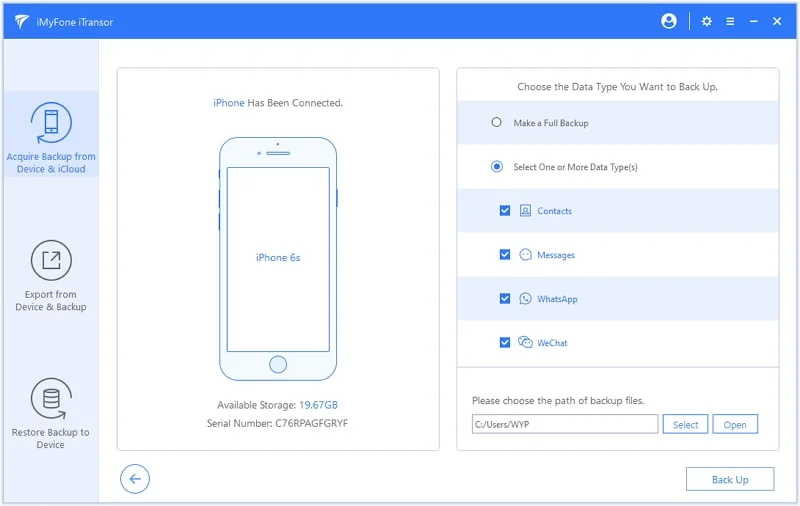
Step 3: Click on "Backup" and choose the external drive as the backup file path and then the program will begin the backup process.
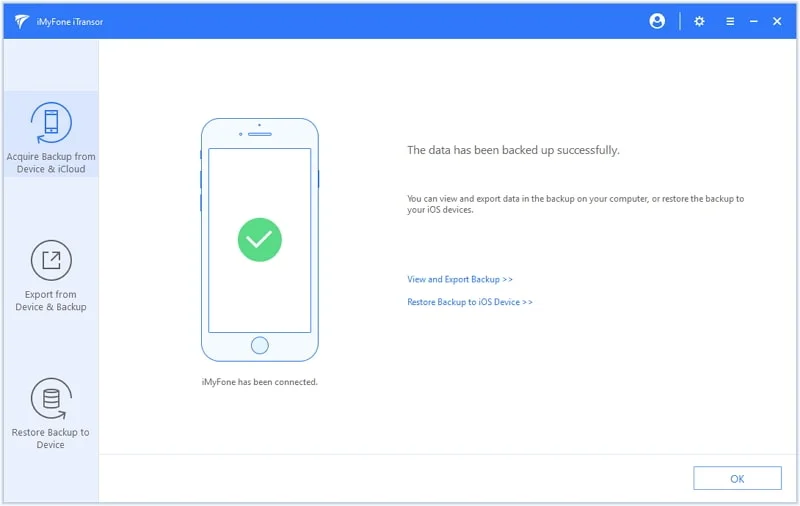
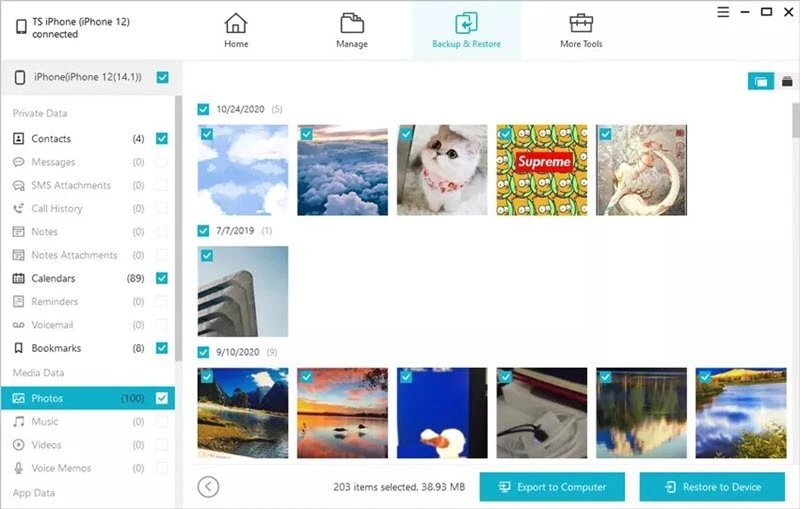
Step 4: Keep your iPhone/iPad connected to the computer until the backup is complete. You can click "View Backup Data" to see the backup file when the process is complete.
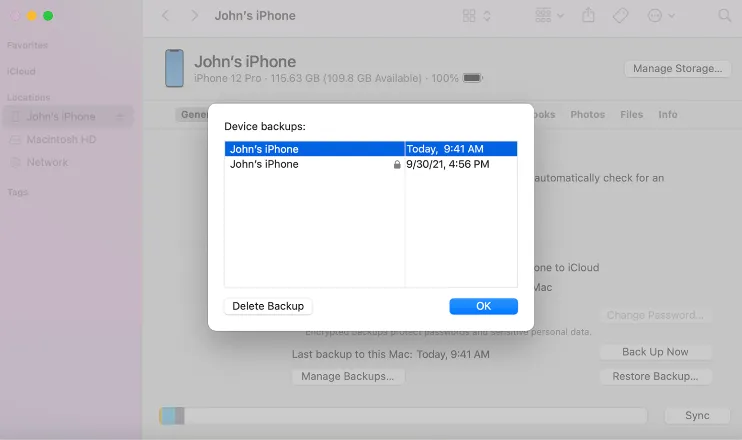
If you have ever backed up your iPhone or iPad to iTunes, the backup folder will be stored on the computer's internal drive. Luckily, you are able to get these iOS backups off your computer and onto an external hard drive. You can simply do that by copying and pasting the existing iTunes backup to an external drive, and then free up space on your PC or Mac.
However, before backing up our iPhone manually, here are some things to consider:
Here's how to do it:
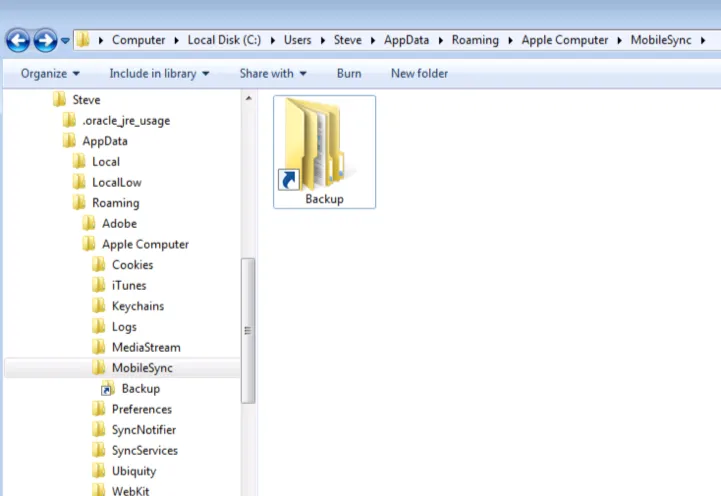
Step 1: Connect the external drive to the computer and then locate your iTunes backup location following the procedures below:
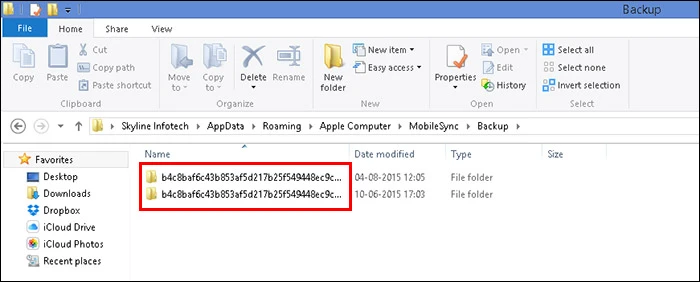
Step 2: Locate the backup folder, copy and then paste it somewhere on your external hard drive.
You can also use command line to create a symbolic link (symlink) in iTunes that will automatically save all backups to an external drive rather than the internal drive. This method requires knowledge of the command line and directory structures. Here's how to do it on Windows and Mac:
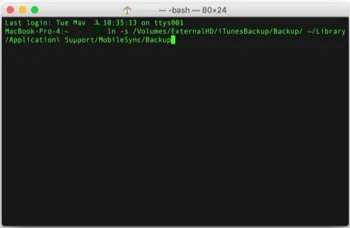
This will redirect the iPhone backup to the external drive instead of the local drive. You can then delete the "Old-Backup" folder on your Mac to create more space.
From now on, every time you create a backup of your iPhone on iTunes, the backup file will be redirected to the external drive.
You may need to back up your iPhone to an external drive to save space on your Mac or PC. Whatever the reason is, having the option to back up your iPhone to an external drive is a choice each one of us should have.
Choose one of the three methods above and follow the simple steps outlined to implement it correctly. Share your thoughts, comments and questions below and we'll do our best to find solutions.
Should you have any further questions, check the section below to understand how to back up iPhone to external hard drive better.
Now one more question here: can we backup our iPhone to en external hard drive if we don’t ave a computer?
Yes. What you need is a Apple’s Lightning to USB 3 Camera Adapter or USB-C port.
It depends on the data you need to transfer. For example, it may take hours if you need to transfer all the iPhone data saved to the external hard drive.
Fay J. Melton has explored the area of technology and software for more than 5 years and he is enthusiastic about helping users solve various technology issues.
Your email address will not be published. Required fields are marked *


Copyright © 2025 FoneGeek Software Co., Ltd. All Rights Reserved


 English