
iPhone photos and videos can take up a lot of space on your device and lead to storage issues. Deleting them directly on your iPhone may not be an option since the photos may be important to you.
There are different ways to back up your iPhone data, like iCloud or iTunes, but today, we will focus on how to transfer photos from iPhone to external hard drive. Now, let's go through all the methods step by step.
One of the best solutions to help you transfer photos from your iPhone to the external hard drive is using FoneGeek Backup & Restore (iOS). This third-party iOS management tool is very easy to use, allowing you to quickly and easily transfer data from an iOS device to a computer or external storage device. Let’s take a look at some of its key features:


Step 1: Download and install FoneGeek iOS Backup & Restore on to your computer and then launch the program.
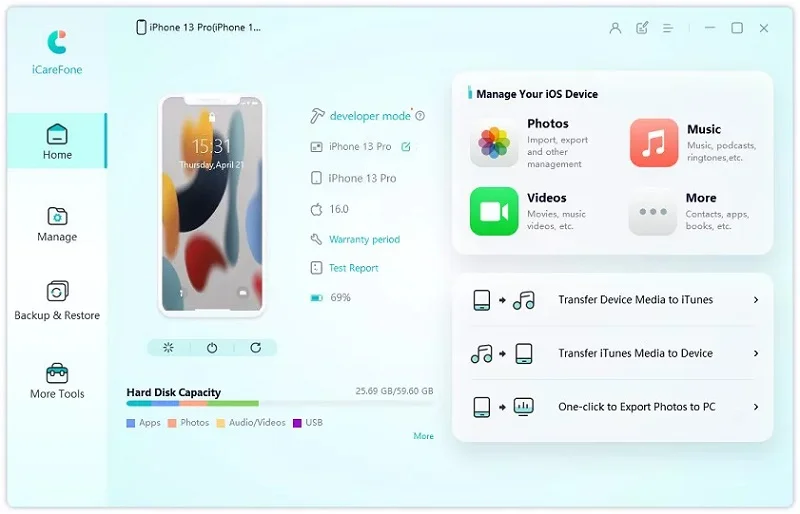
Step 2: Connect the iPhone to the PC and tap on "Trust This Computer" when prompted. Once the device is detected, click on "One-click Export Photos to PC."
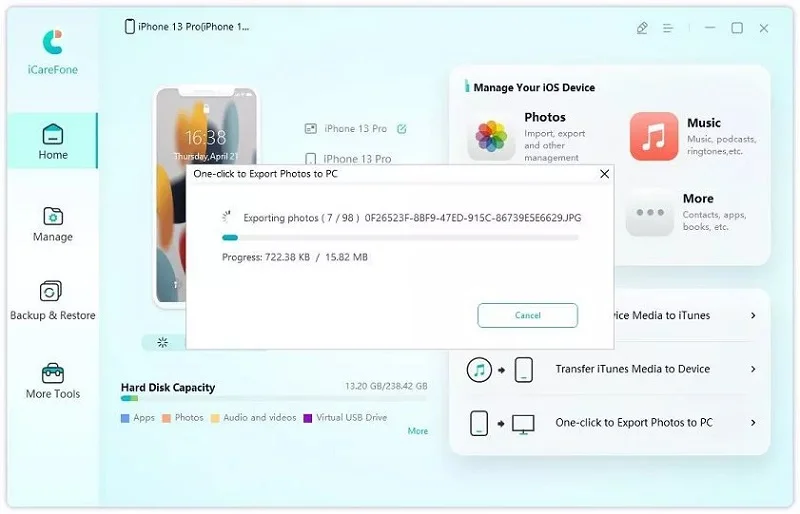
Step 3: The program will scan the device for all photos and automatically transfer all photos to the computer.
When the photo exporting process is complete, the destination folder will pop up. Then, you can freely transfer your iPhone photos to your external hard drive for safe backup. All the photos will be kept in original quality.
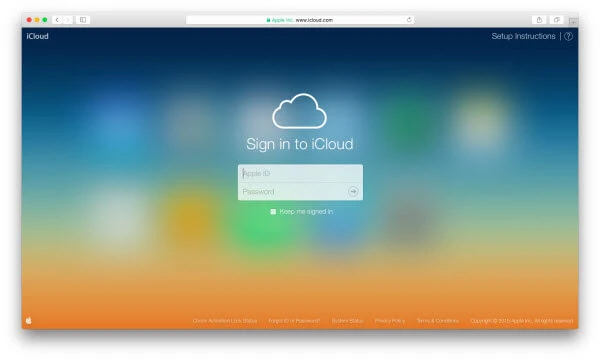
If the photos you want to transfer are in iCloud, follow these simple steps to transfer them to the external hard drive:
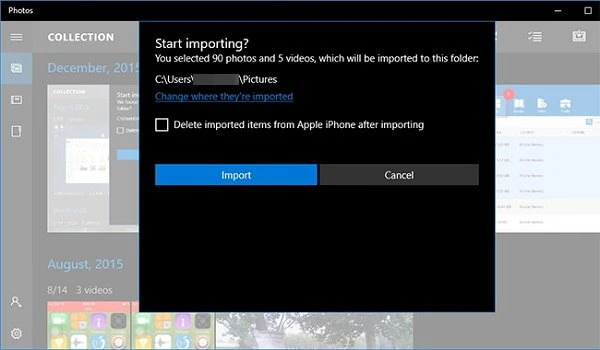
You can also easily use the Windows Photos app to transfer photos from your iPhone to the external hard drive. Here’s how to do it:
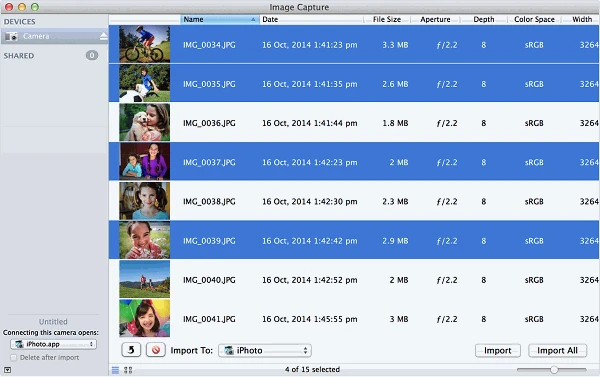
For Mac users, the best way to transfer photos from the iPhone to the external drive is to use “Image Capture.” Here’s how to do it:
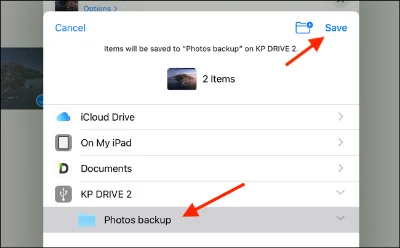
This method is very convenient for those who don't want to use a computer. You can connect your iPhone and external hard drive using an adapter for the photo transfer. However, ensure your iPhone/iPad is running iOS 13 or later.
How to backup iPhone photos to an external hard drive?
To transfer and back up photos from your iPhone to an external hard drive, start by connecting both your iPhone and the external hard drive to your computer. Then, you can use various methods such as the Photos app, iCloud, Image Capture, or third-party software to move the photos.
Can I connect my iPhone directly to an external hard drive?
Yes, you can connect your iPhone or iPad to various external storage devices like flash drives, USB hard drives, and SD cards using the right adapter. The type of adapter you need depends on your device model and the external device you're connecting to. You can buy the right adapter on Amazon.
Can I use other cloud services to transfer iPhone photos to an external drive?
Yes, you can use other cloud-based services besides iCloud to transfer photos from your iPhone to an external hard drive. Services like OneDrive, Google Drive, and Dropbox offer similar features and steps to help you move your photos to the external hard drive.
This guide should be very helpful when you want to transfer photos from your iPhone to external hard drive. All the methods explained above can be used to back up photos to any brand of external hard drive, such as Seagate, Samsung, WD, and others. Among these methods, FoneGeek Backup & Restore (iOS) stands out as the top choice. It's software that simplifies the process of transferring data from an iPhone/iPad to any other device.
As a professional writer who is interested in technology, Edwin J. Parke has helped thousands of users by offering various tips to solve their problems.
Your email address will not be published. Required fields are marked *


Copyright © 2025 FoneGeek Software Co., Ltd. All Rights Reserved


 English